BY HADLEY JANE
This site contains affiliate links, view my disclosure for more information.
This site contains affiliate links; view my full disclosure.
PREP: 30 MINS | FERMENTATION: 1 WEEK - 1 MONTH
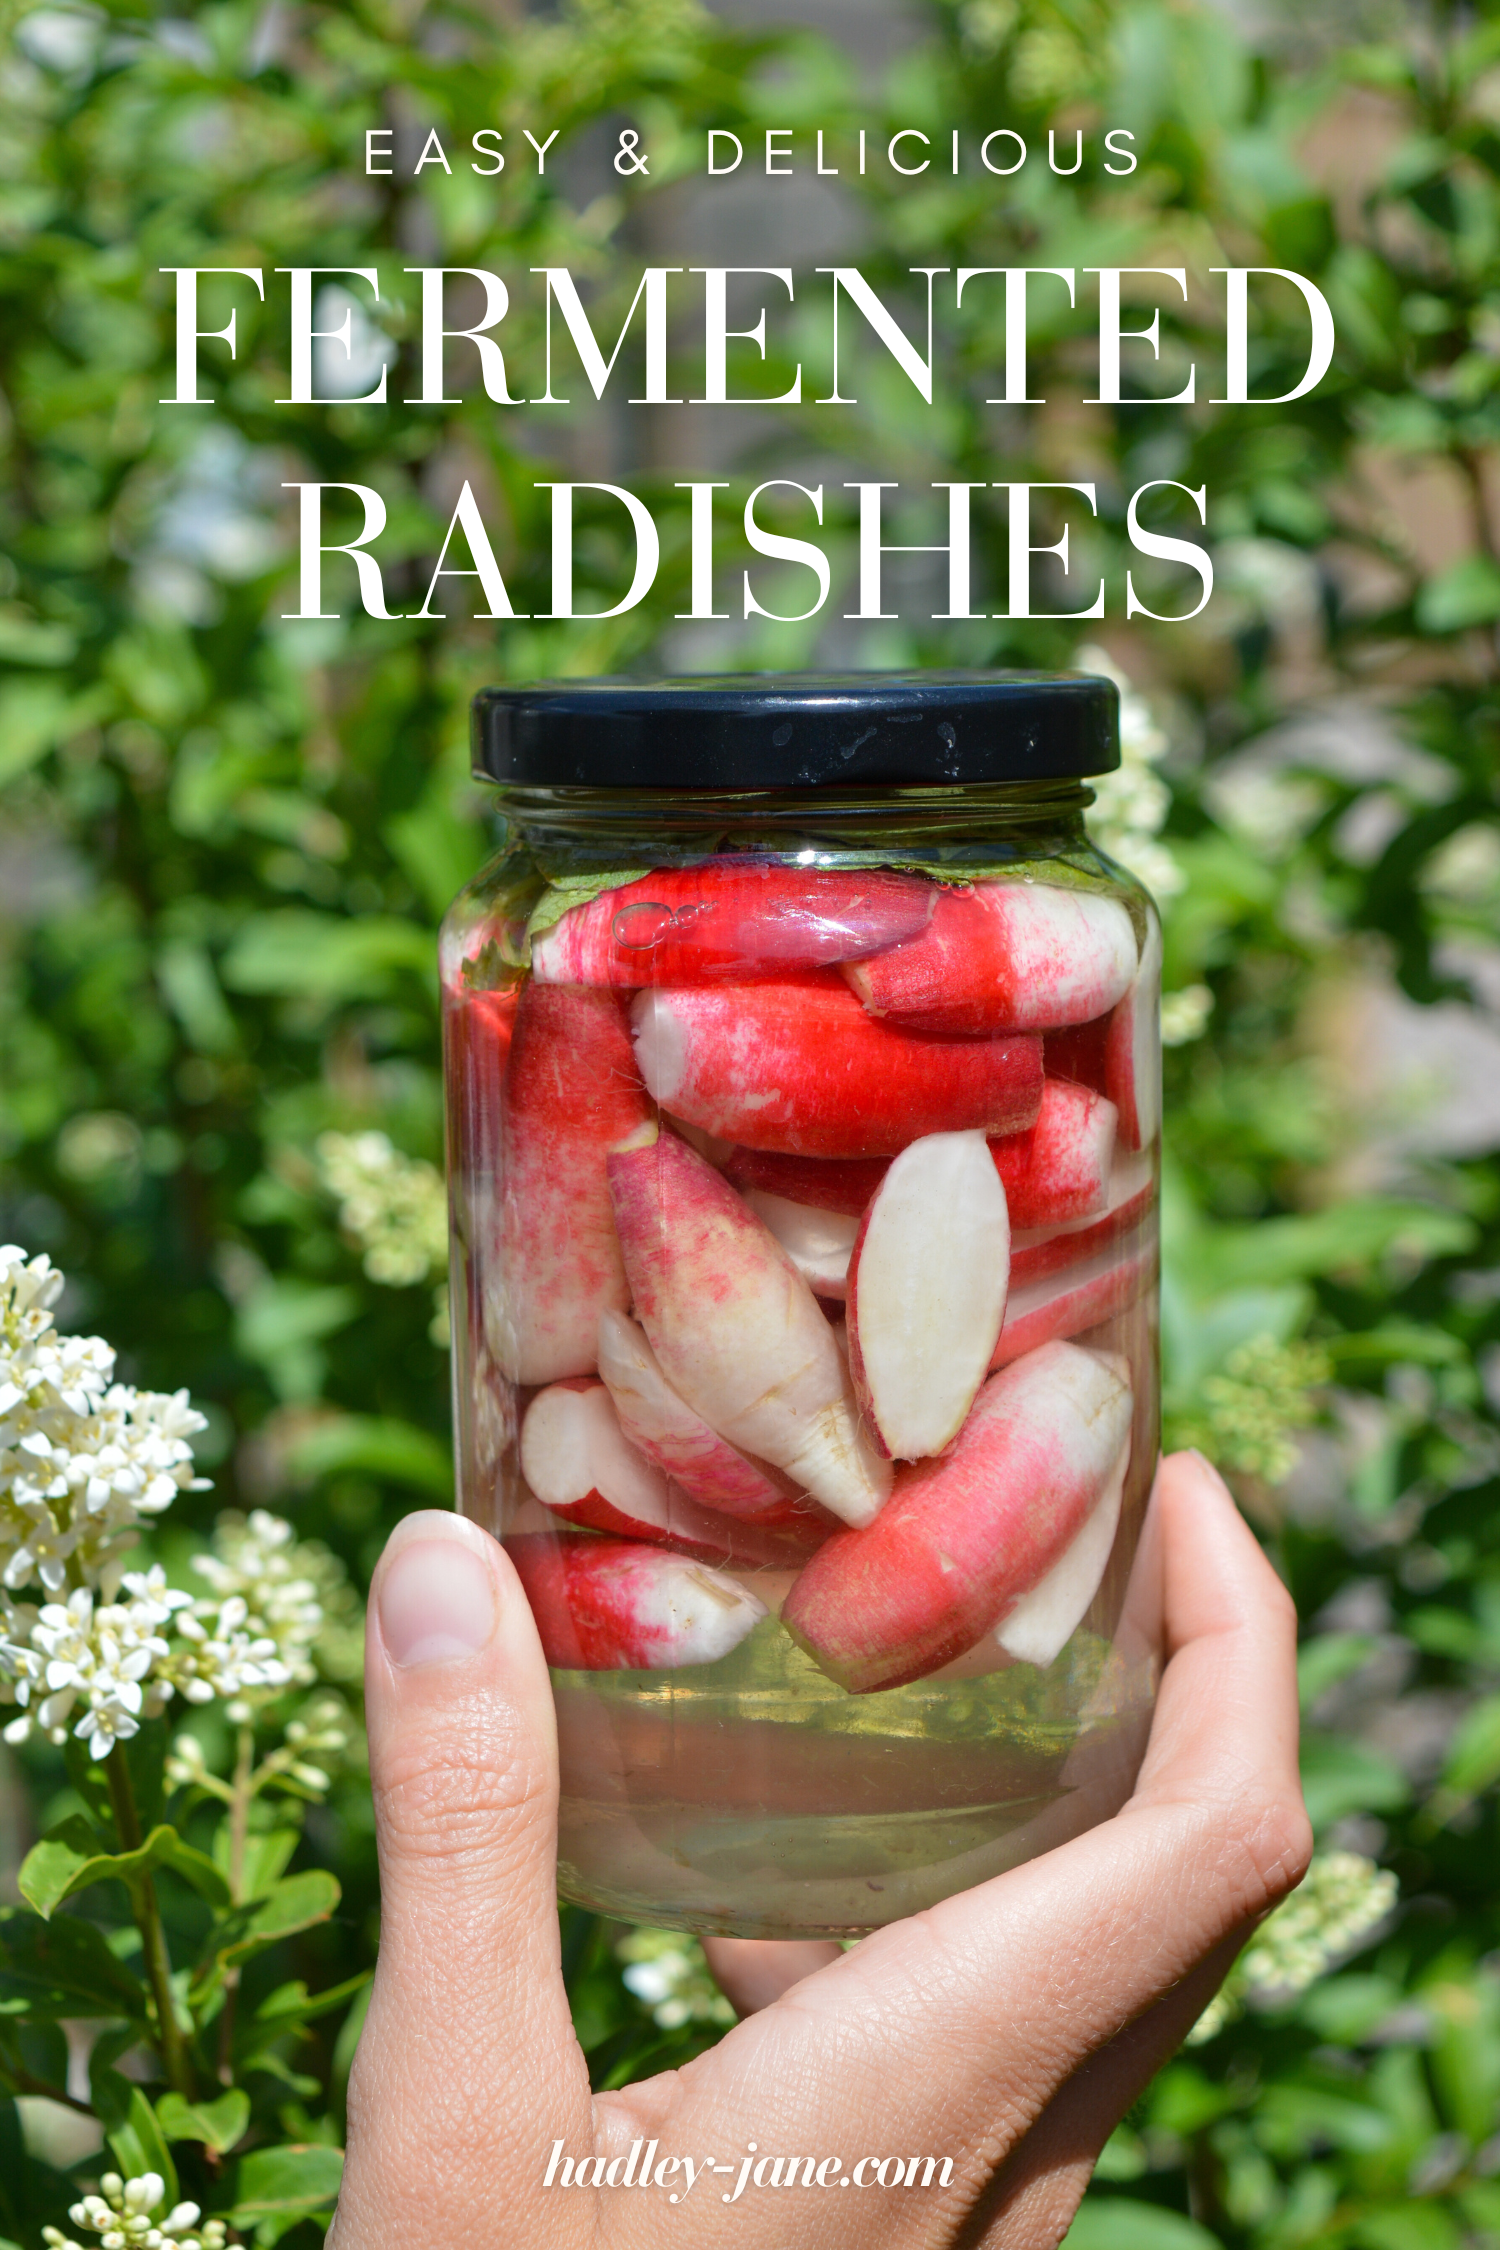
Fermented radish is easy, beautiful, and packed with spicy, tangy goodness that's perfect on salads, sandwiches, and cold pasta dishes, or enjoyed as a gut-boosting snack!
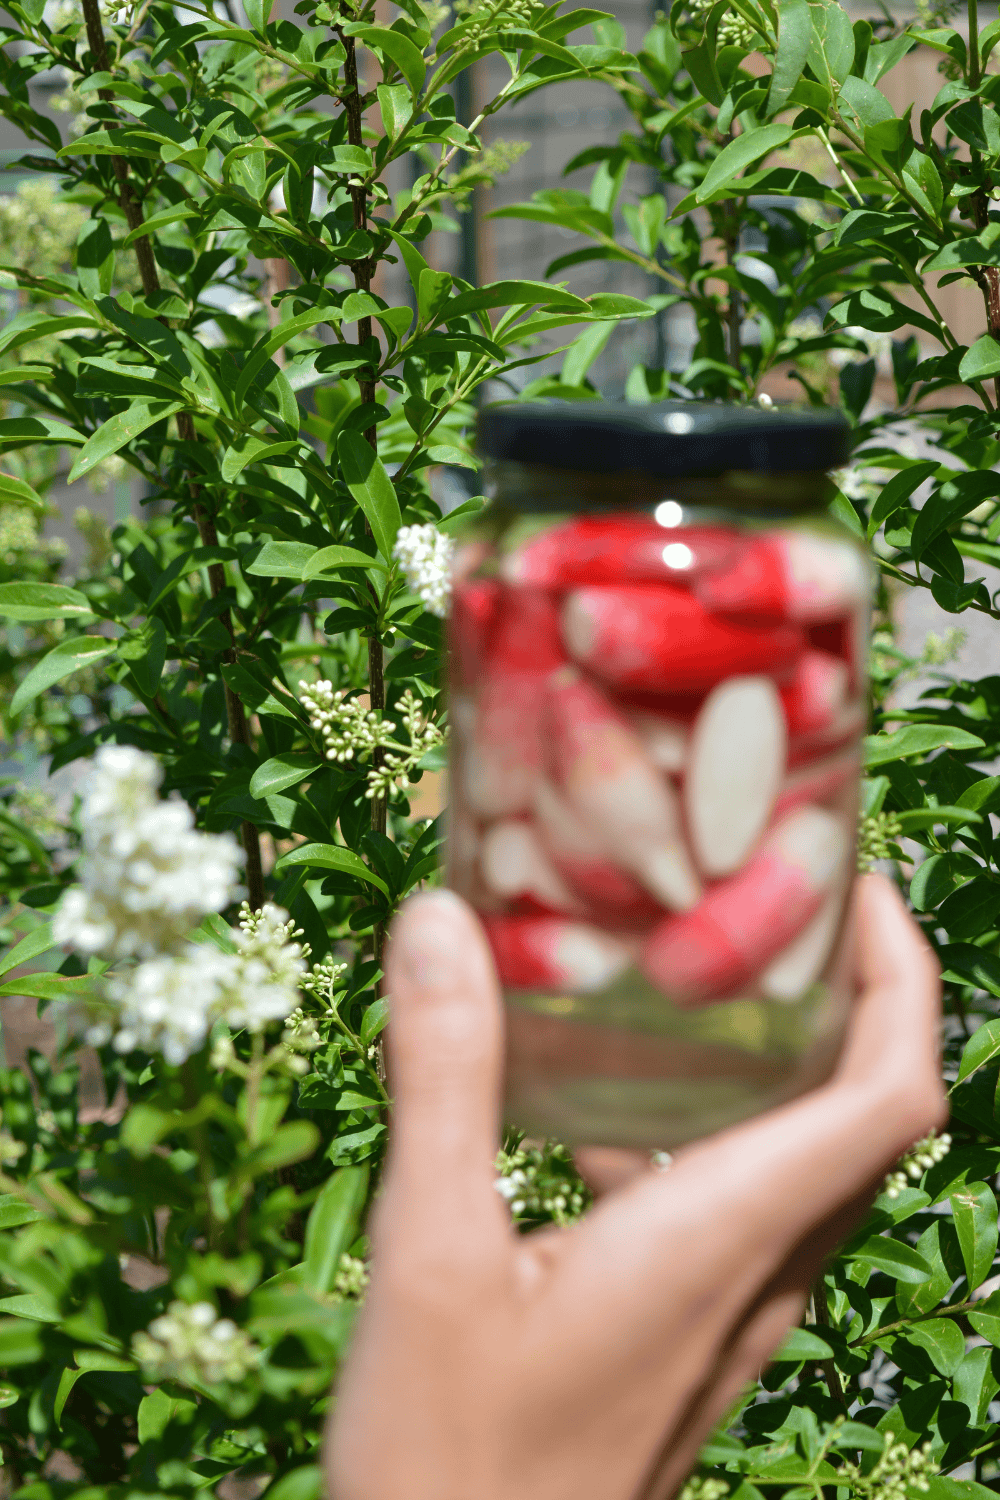
Lacto-Fermented Radish Recipe
Want to learn how to make the easiest fermented radish recipe? Maybe you’re new to fermenting, or maybe you have a glut of extra radishes hanging around. Either way, this post will show you that making fermented whole radishes is as easy as 1, 2, 3.
What is lacto-fermentation?
LACTO-FERMENTATION is how most fermented foods (including sauerkraut, kimchi, pickles, yogurt, kefir, wine, and salami) are made! It's also how we're going to make this mouth-watering fermented radish recipe.
In lacto-fermentation, good bacteria from the LACTOBACILLUS GENUS break down the sugars in food and convert them into tangy lactic acid (as well as alcohol and carbon dioxide - Champagne anyone?).
In this lacto-fermented radish recipe, the natural Lactobacillus bacteria that are present on the surface of the radishes will transform their sugars into GUT-LOVING probiotic bacteria.
Check it out on IG!
Fermented Radish Benefits
Is fermented radish good for you? YES!
Fermented vegetables are MUCH EASIER TO DIGEST than raw vegetables because the Lactobacillus bacteria essentially did the digesting for you during the fermentation.
Additionally, the fermentation process destroys toxic plant chemicals, like phytic acid, which are disruptive to our microbiome.
How To Make This Fermented Radish Recipe
We’re going to make fermented WHOLE radishes, which makes this the easiest fermentation. Let’s learn how to make fermented radishes!
1. Equipment
You only need 3 PIECES OF EQUIPMENT for any fermentation: the fermentation vessel/s, a scale, and a large bowl.
For our fermentation vessel, we’ll use glass jars. I reuse old ones (I've saved hundreds over the years...).
Avoid using plastic containers that could break down during the fermentation and leach into your food. No, thank you!EQUIPMENT FOR FERMENTED RADISHES
2. Ingredients
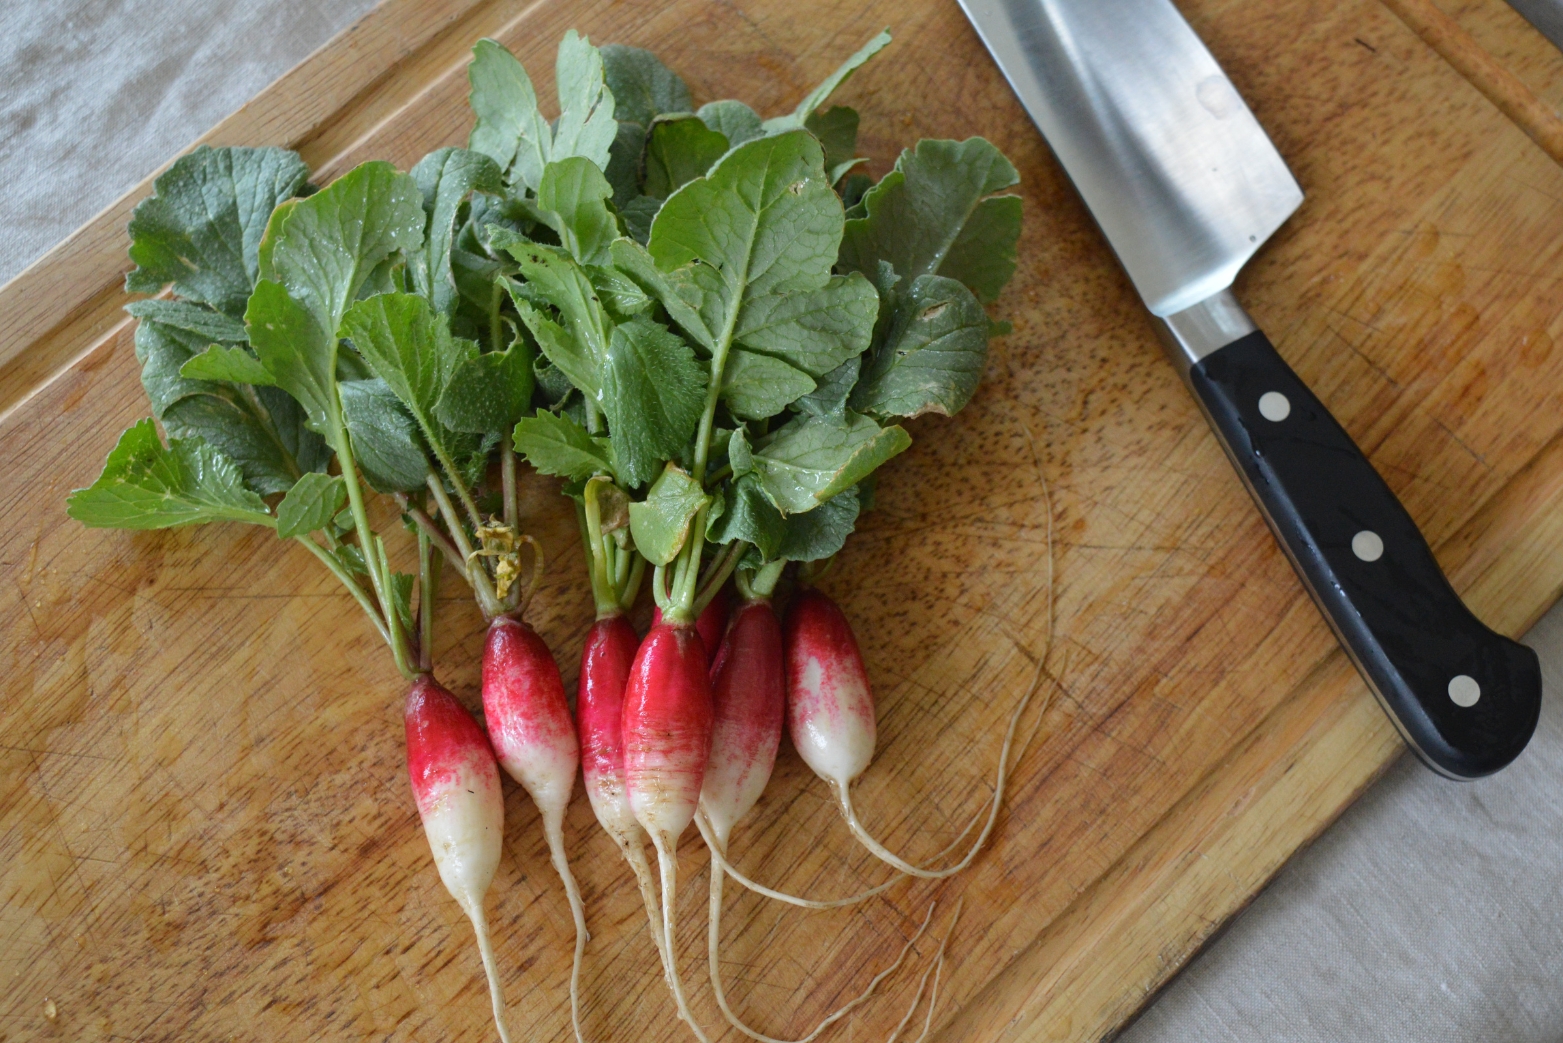
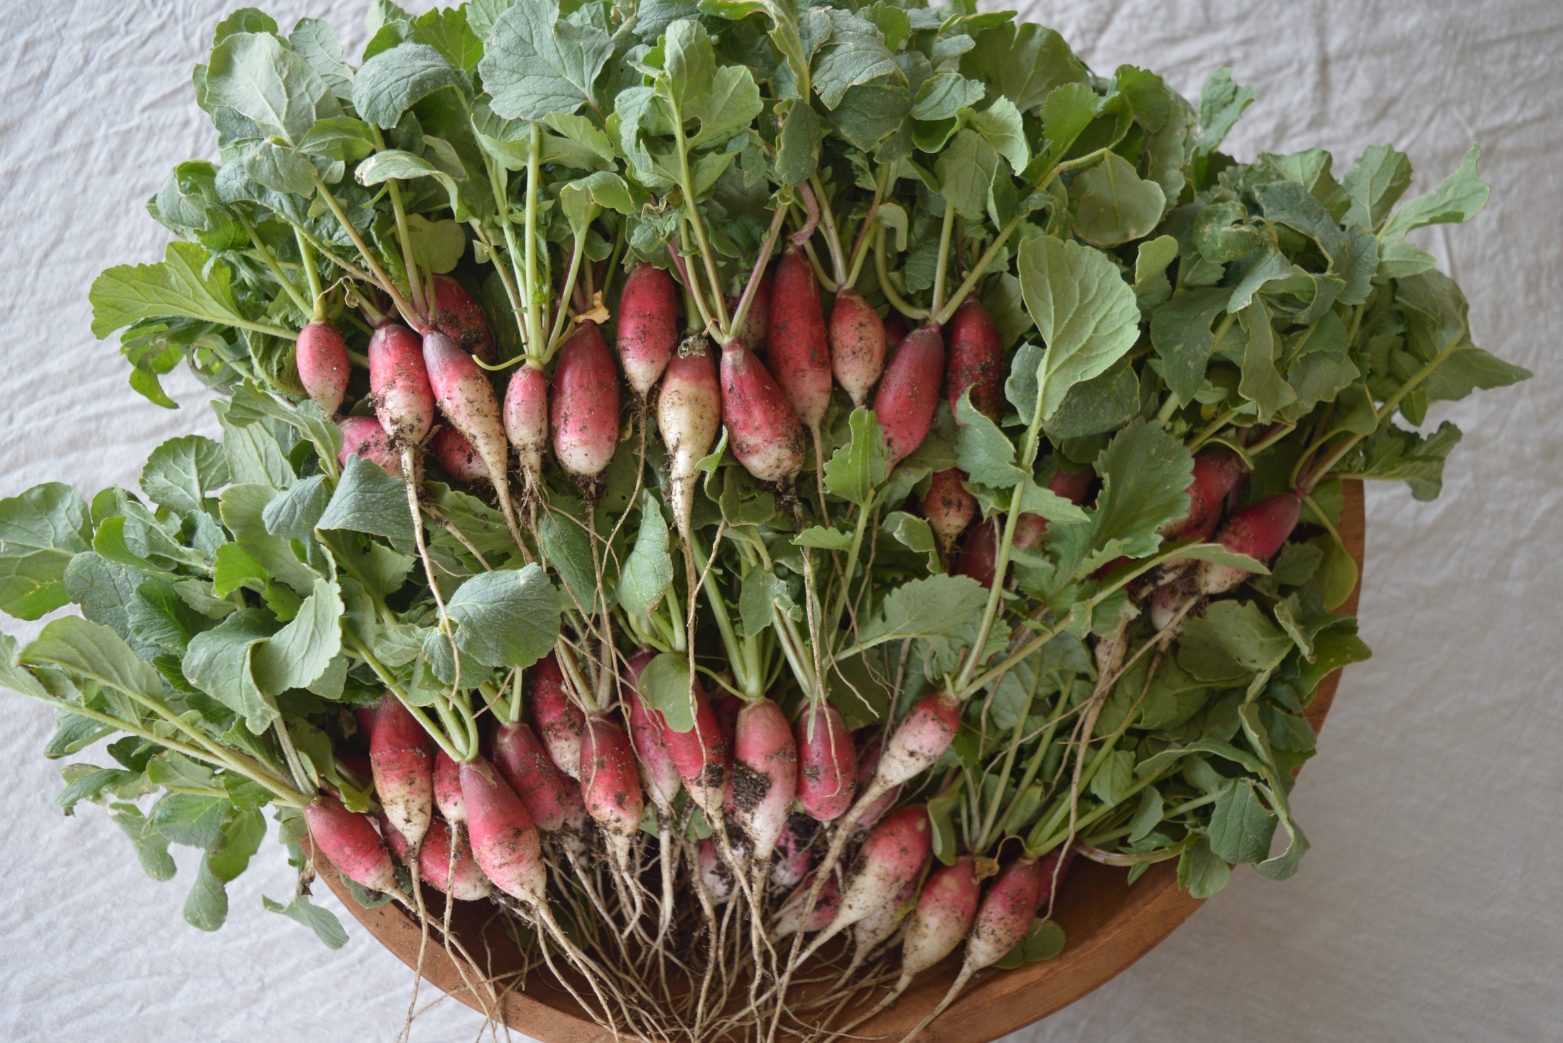
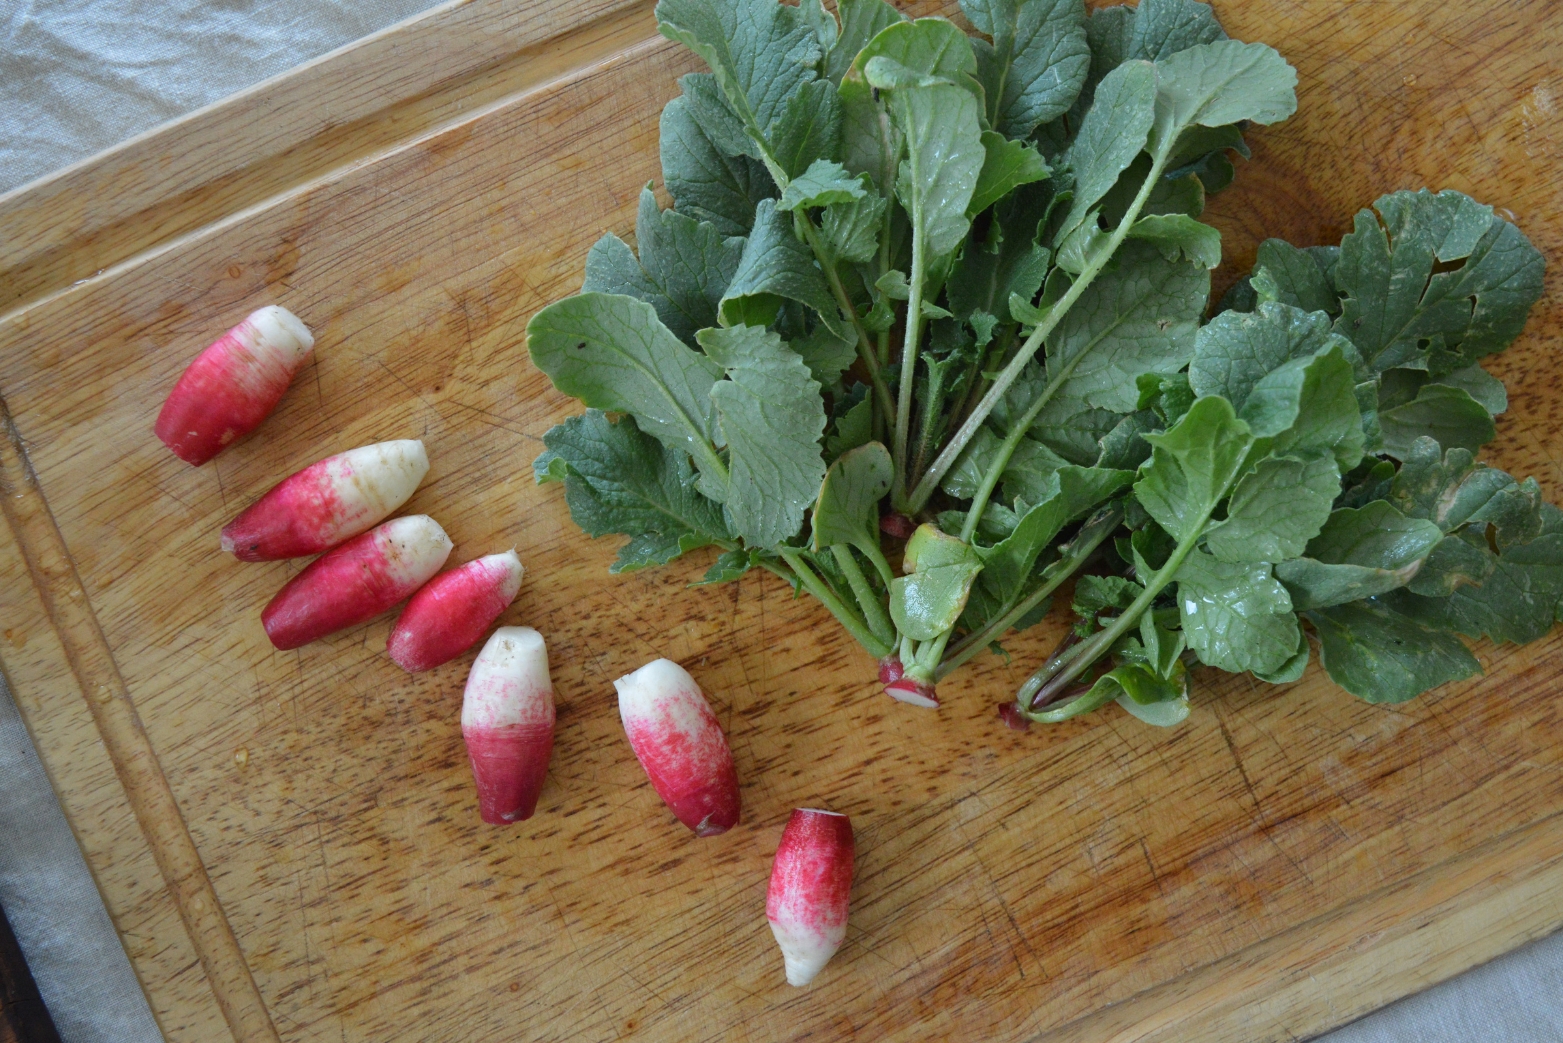
I used French breakfast radishes because their spiciness sings on my palette, and their mixed hues of pink and white are just too pretty.
INGREDIENTS FOR FERMENTED RADISHES
- Radishes (any kind will do - preferably local & organic)
- Filtered water
- Salt (I use 100% natural sea salt, which is rich in essential minerals)
3. Steps
Just 9 steps to tangy deliciousness…
1 | PREP THE RADISHES
The prep here is fairly easy.
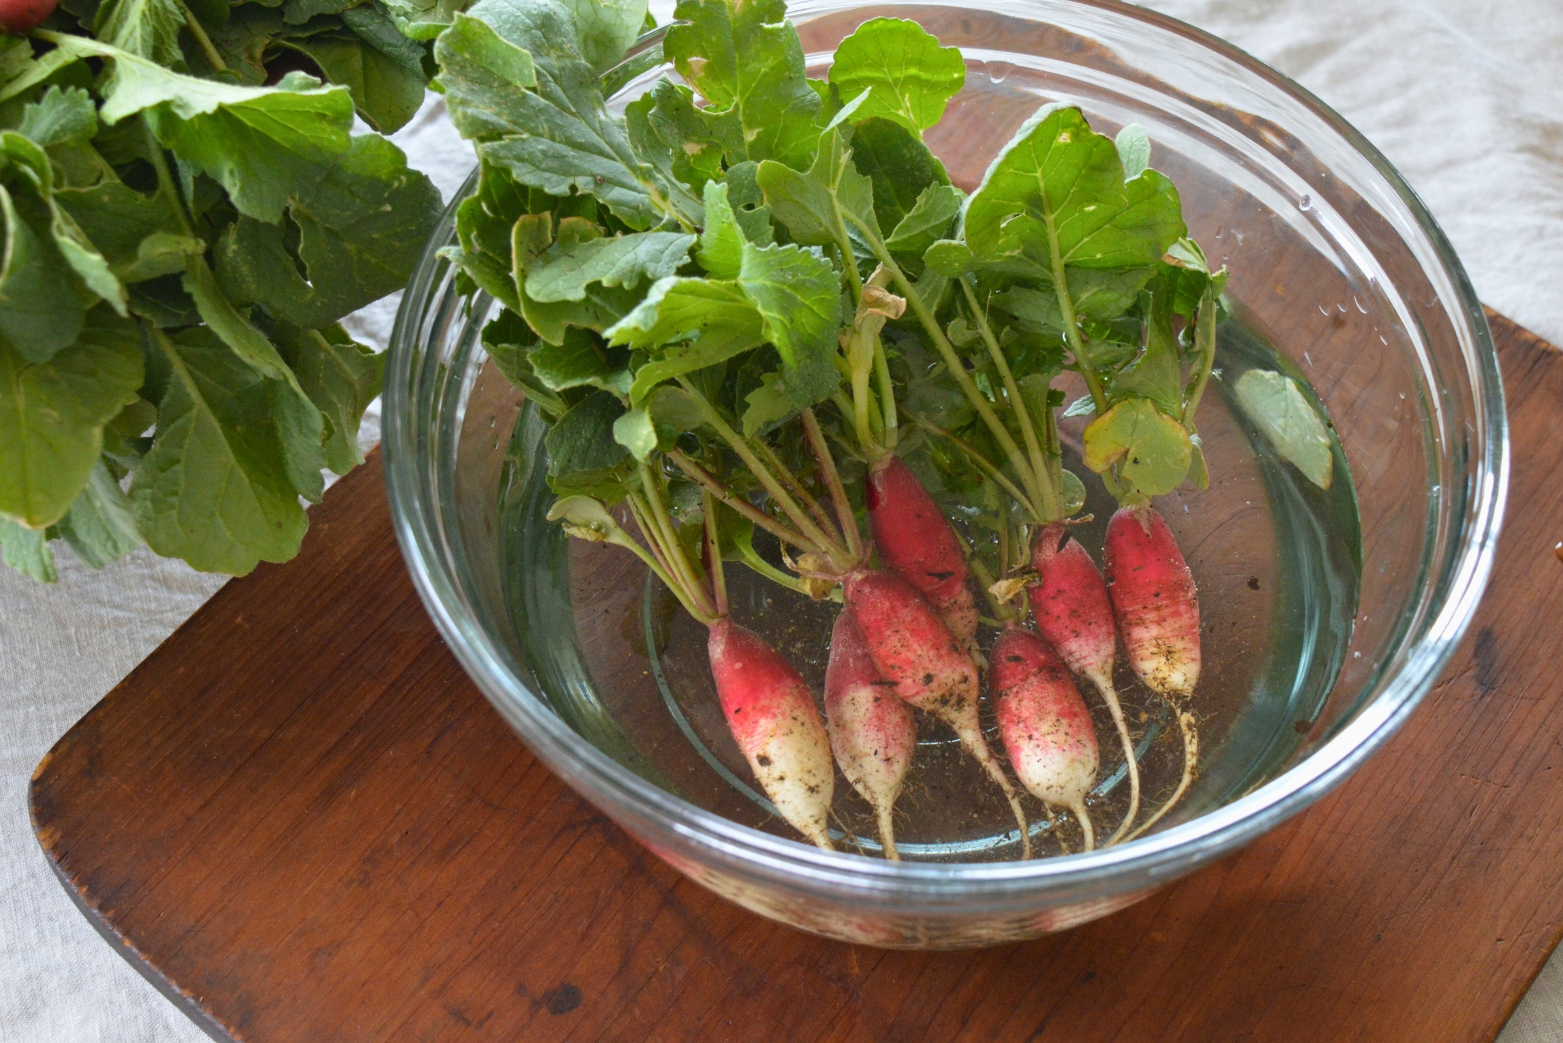
SOAK the radishes in water to remove any dirt and/or pesticides on them (though I recommend you buy organic). Let them dry (either by patting them with a towel or letting them air dry).
Slice off the leafy greens, as well as the tail end of each radish.
2 | FILL THE JARS
Place the radishes in the glass jars. Don’t fill the jars more than about 80% full. Then, pour filtered water into each jar (nearly all the way to the top).
You can also ADD SPICES at this step if you’d like. Garlic and dill go excellently with radish.
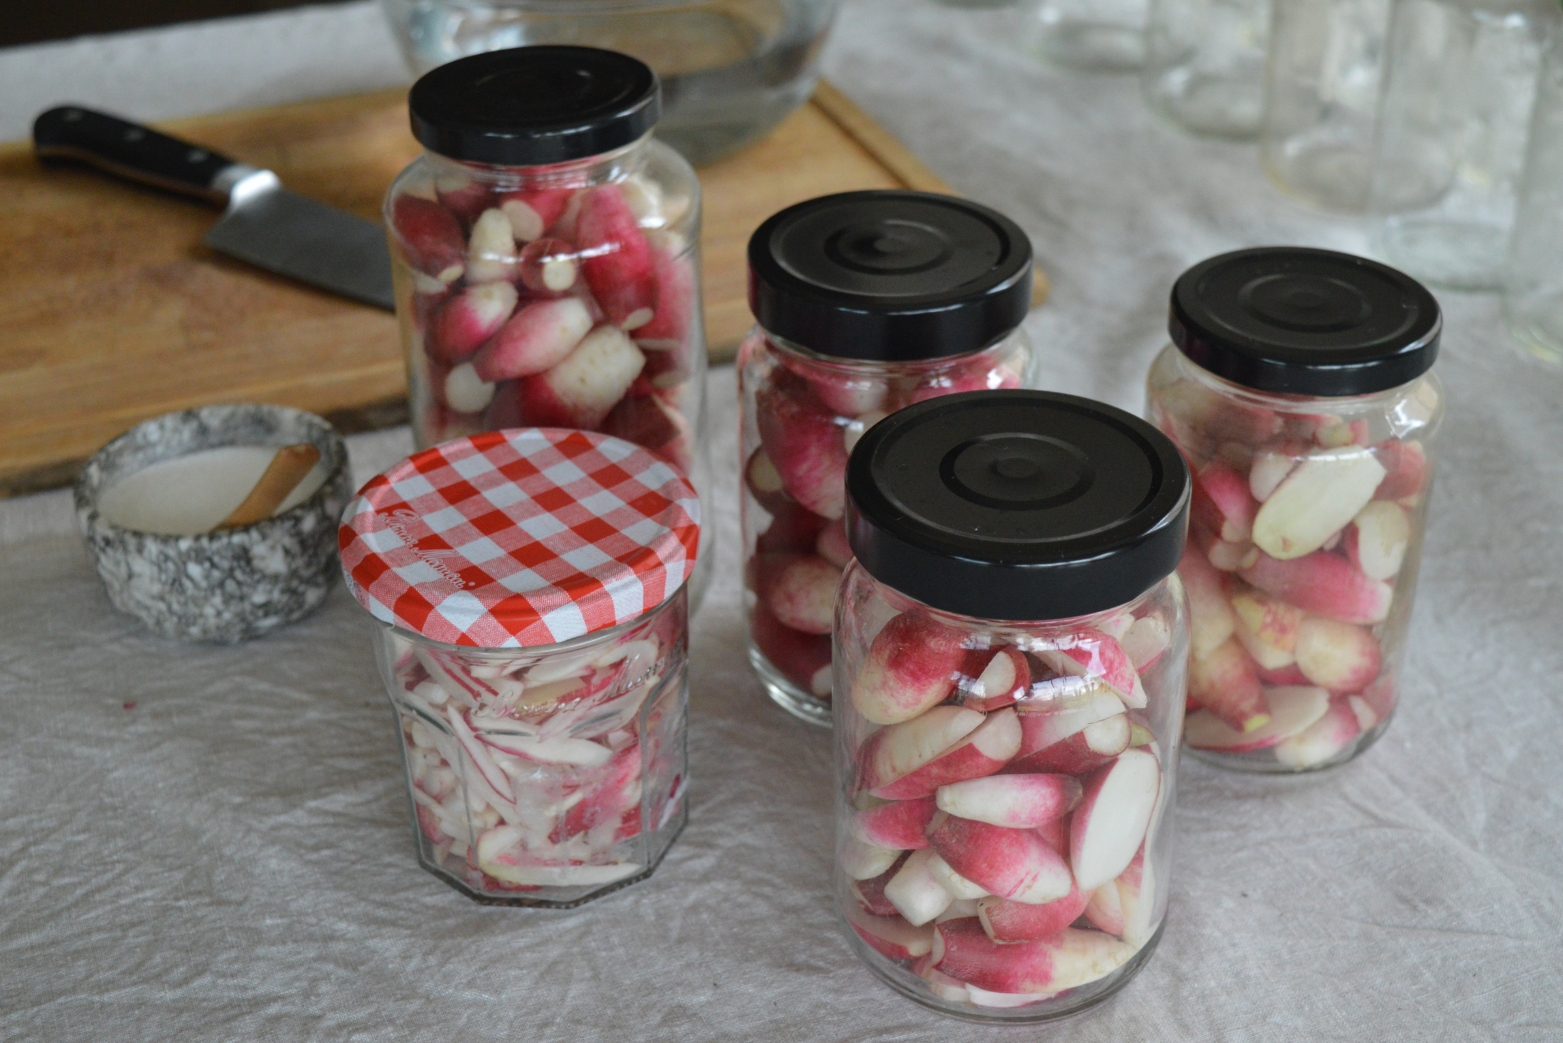
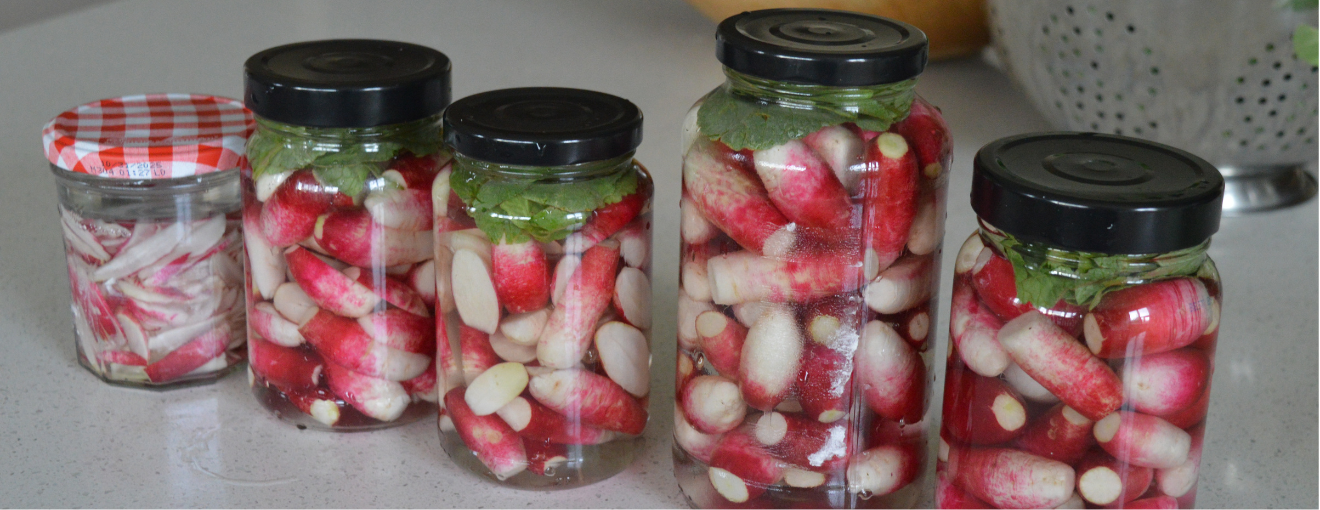
As you can see, I also experimented with halved and finely sliced radishes.
3 | WEIGH THE WATER
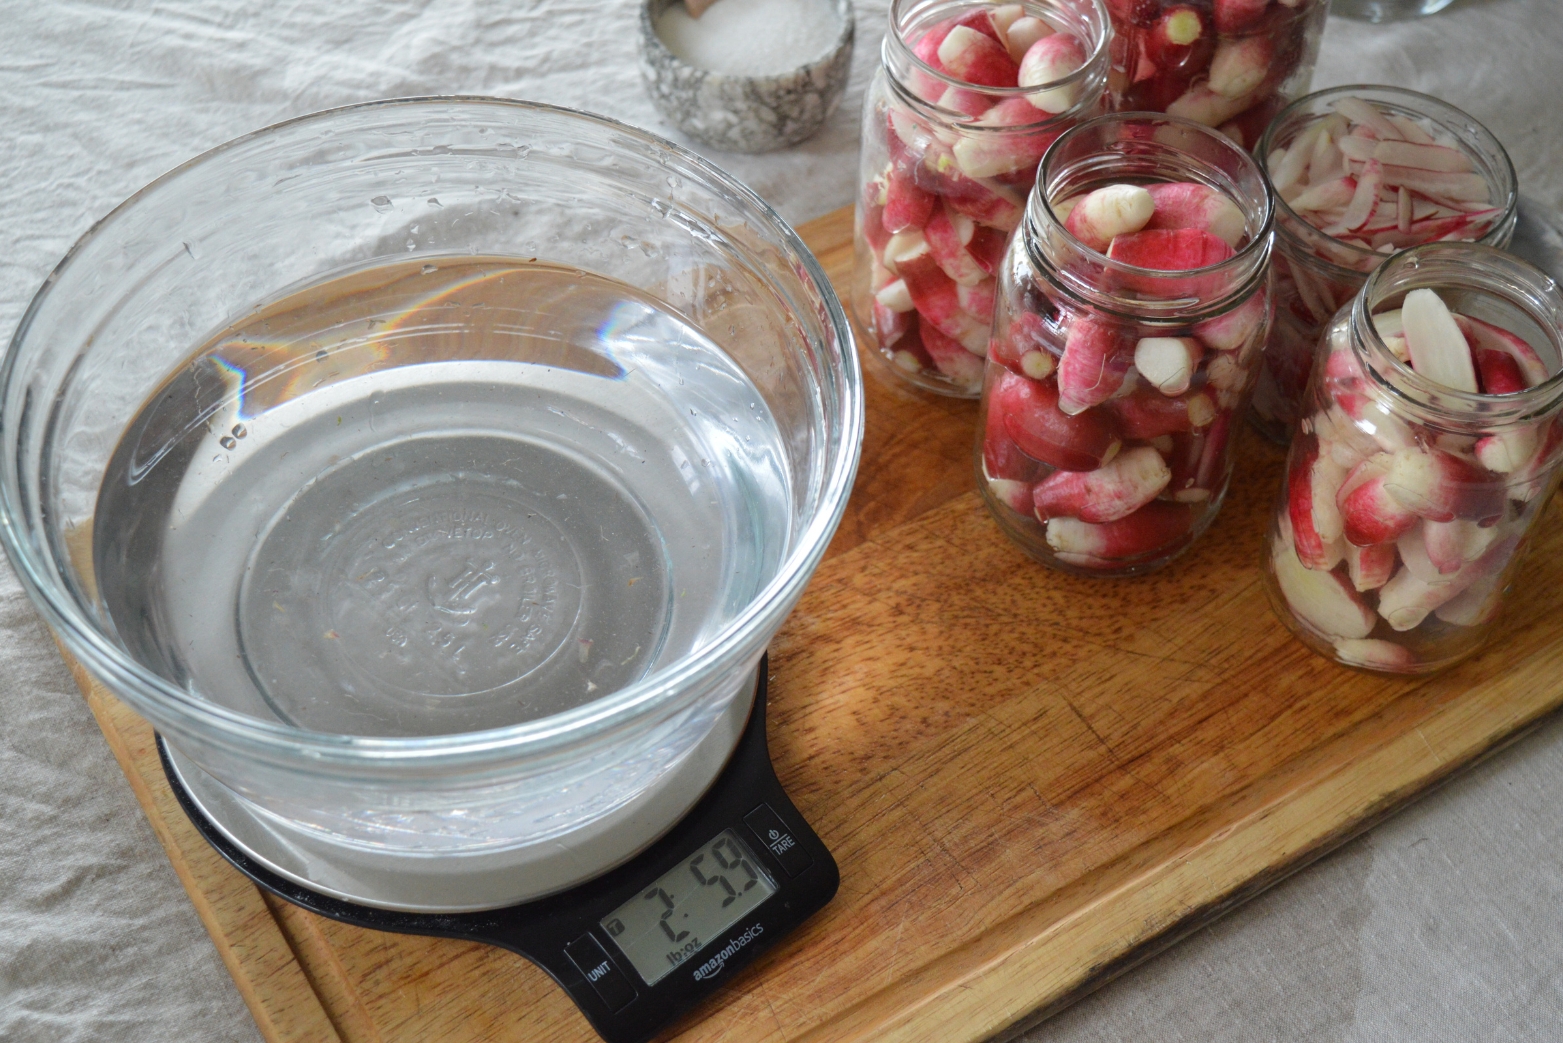
Place the large bowl on your digital scale, and zero it out.
Pour the water from each radish jar (keeping the radishes inside the jars) into the bowl. Set the unit to GRAMS.
4 | MAKE THE BRINE
SALT is essential for any fermentation. It kills bad bacteria and allows the good Lactobacillus bacteria to thrive!
Most fermentation brines are a 2% SALT SOLUTION.
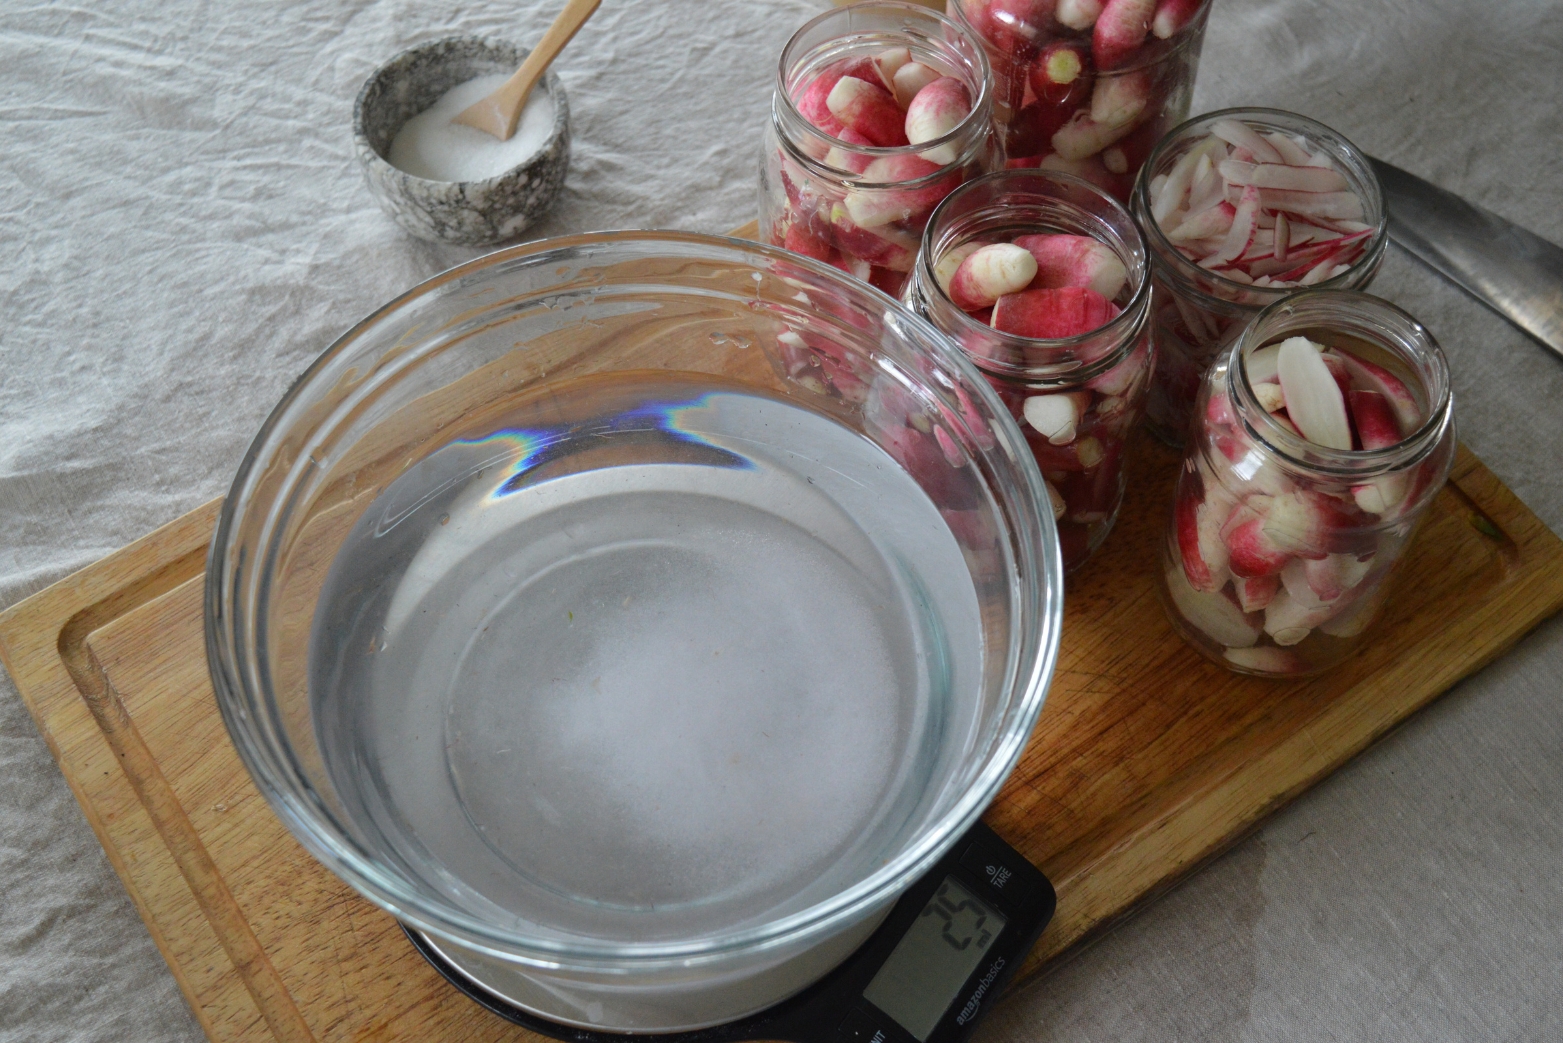
Take the weight of your water (in grams) and multiply it by .02. That is how many grams of salt you will need to add to the water.
EXAMPLE: The water weighs 1,000 grams. 1,000 x .02 = 20. You’ll add 20 grams of salt to the water.
Add the salt to the water and give it a good mix until it’s well-dissolved.
5 | POUR IN THE BRINE
Pour the salted water (the brine) back into the radish jars.
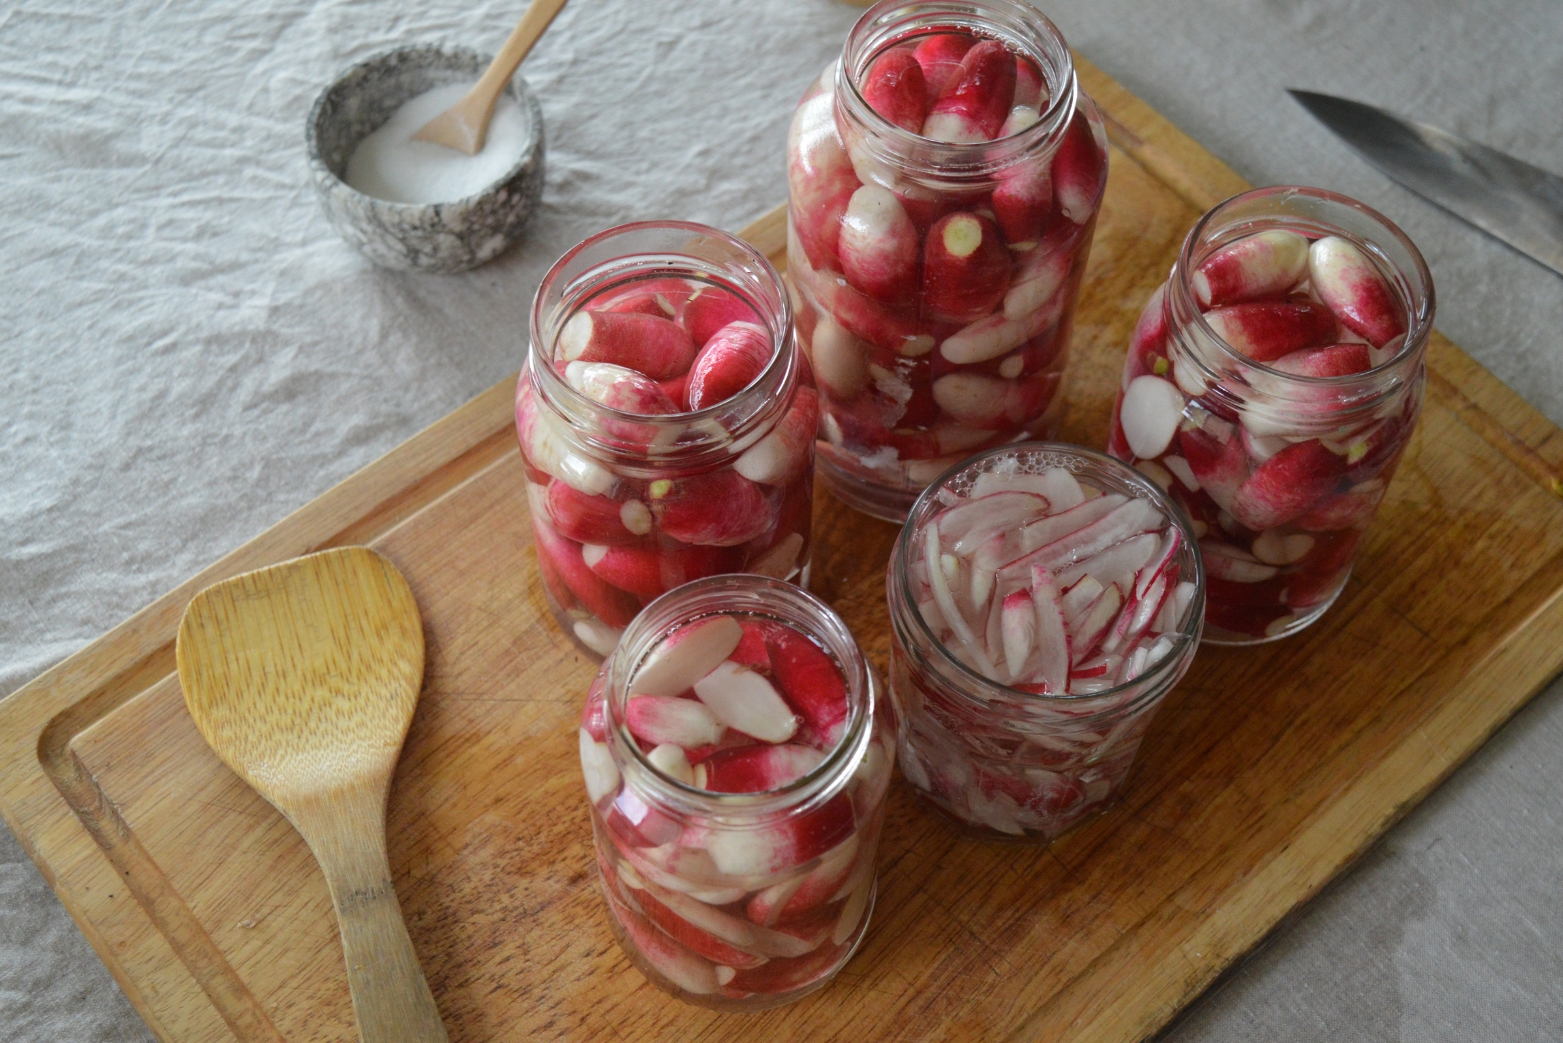
6 | WEIGHT IT DOWN
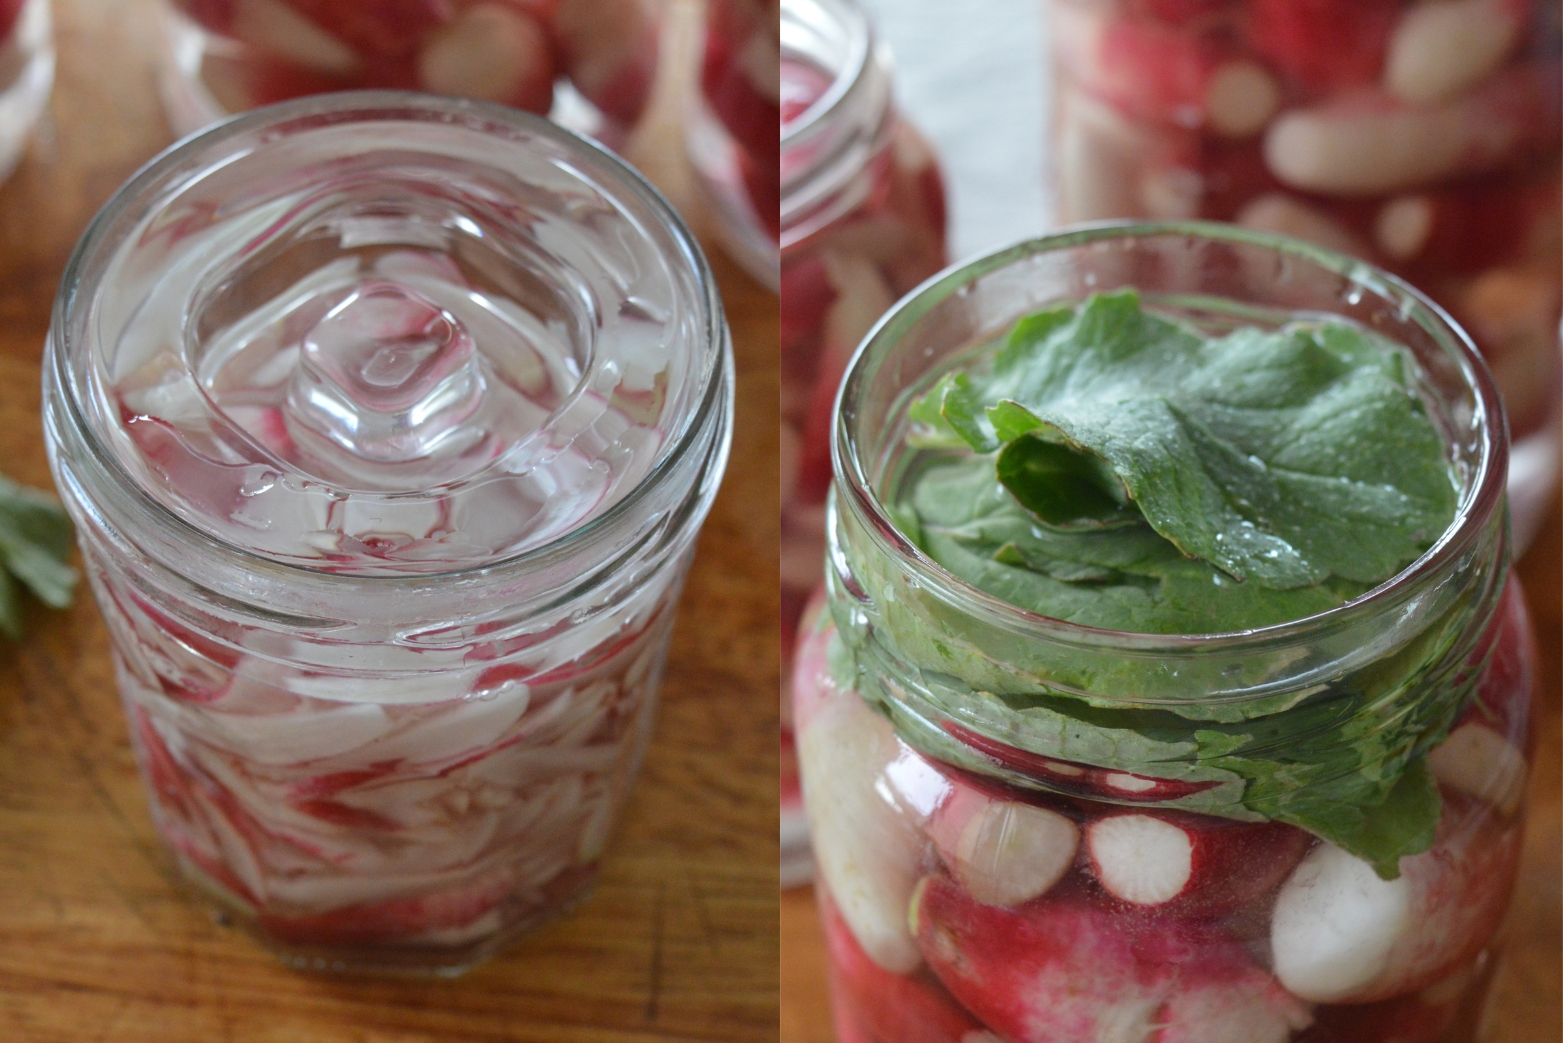
One CRITICAL aspect of fermentation is making sure that everything is submerged under the water.
Anything above the water line (that's exposed to oxygen) will get moldy.
You can use fermenting weights to keep everything under the water. You could also use the radish leaves to push everything down. In the photo, I haven't yet submerged the leaves under the water, but you must do this.
Everything must be under the water line so nothing gets moldy.
People also use rocks (sterilize them first) or plastic bags full of water (though I recommend avoiding any plastic).
Either way, it's critical that everything stays submerged under the water during the entire fermentation process.
7 | COVER THE JARS
Carbon dioxide bubbles are created during fermentation, which need to be released (or the jars can explode!). You have 2 options: either cover the jars loosely with their lids, or close them tightly and "burp" the jars everyday.
LOOSELY COVER: Option 1 is to place each lid on loosely, just enough to make sure bugs/dust can't get into the fermentation. This allows the gas to naturally escape and doesn't require you to do any more work.
BURP THE JARS: Option 2 is to close the lids on all the way, which ensures that nothing will spill if they get tipped over. But it obligates you to release the gas everyday by taking the lids off each jar for a moment. You also need to make sure your hands are clean each time you do this.
I typically use option 1 (loosely cover the jars) because I know nothing will knock them over and don't want to be obligated to "burping" everyday.
8 | FERMENTATION TIME
The fermentation is complete once you don’t see any more bubbles being created in the jar. This can take A FEW DAYS, and upwards of a MONTH.
The longer you let it ferment, the more acidic (and probiotic-enriched) it will become.
I usually let my fermentations carry on for 2+ weeks, sometimes even more than a month, because I love strong flavors and I want all those probiotics!
Leave the jars UNDISTURBED during the fermentation.
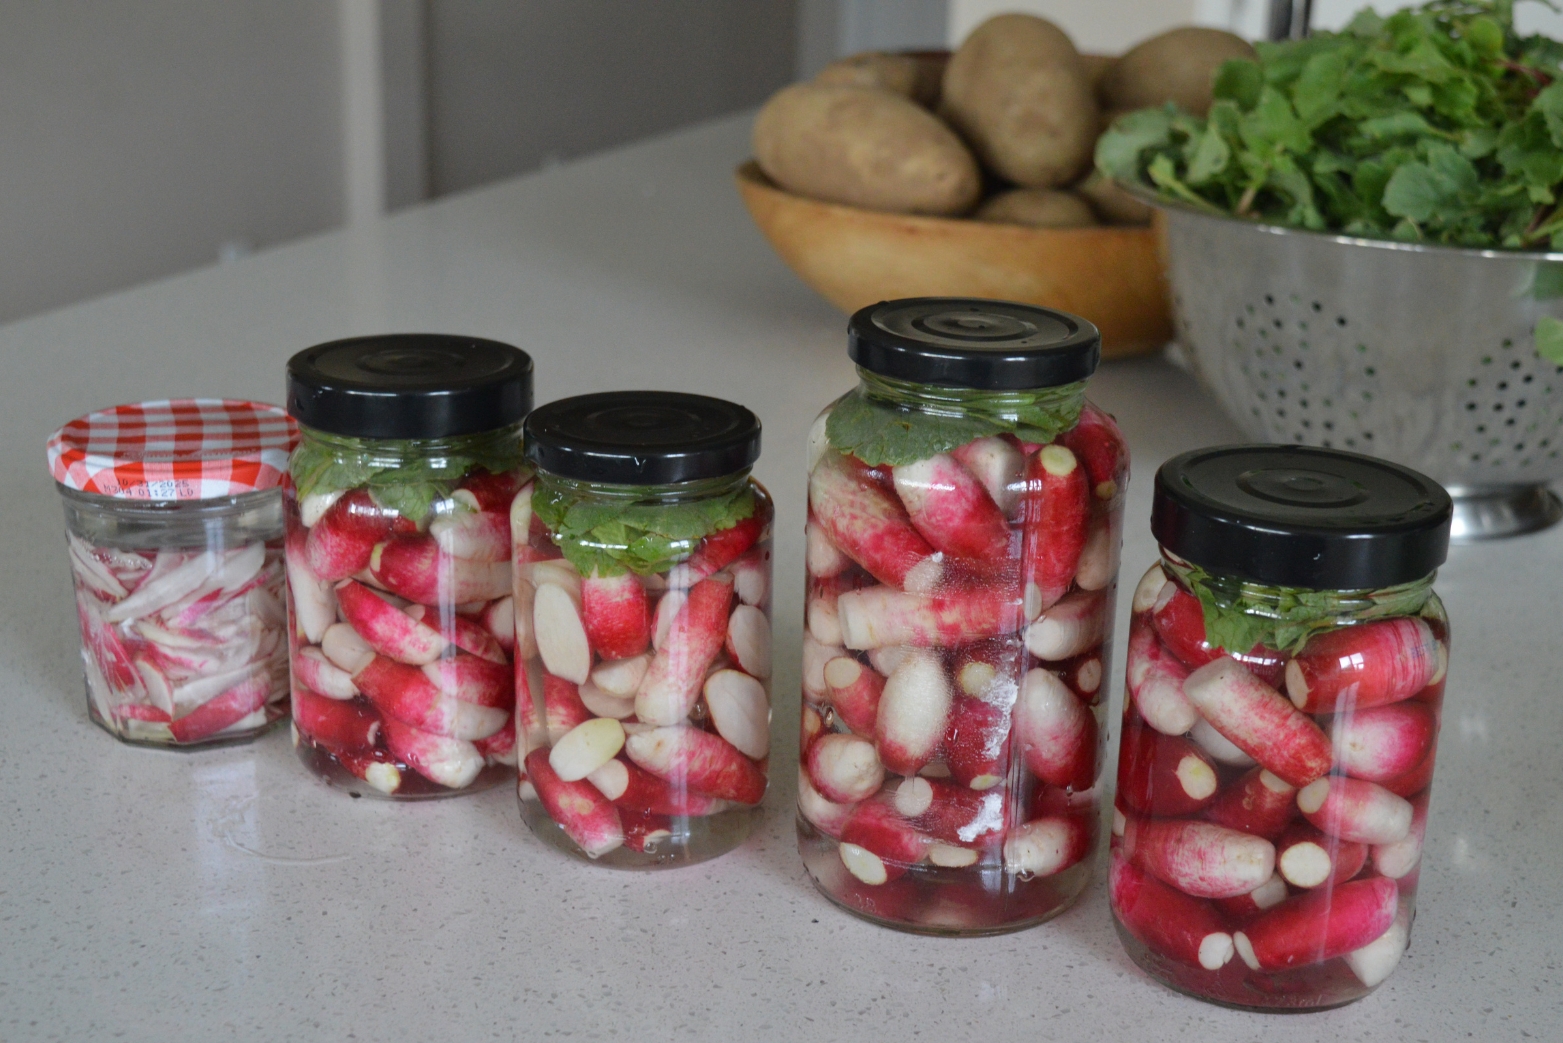
9 | STORAGE
Once finished, place the fermented radishes IN THE FRIDGE, where they will last for many months.
You can also store your fermentations outside the fridge if you sterilize everything (EXCEPT the radishes) and increase the salt solution to 3-10%. See the FAQ (in the next section) for more details.
FAQ
1. Is this like a radish sauerkraut?
Sauerkraut is technically fermented cabbage, but the lacto-fermentation is the same.
2. Can you leave fermented radishes outside the fridge?
If you want to keep your fermented radishes in storage OUTSIDE the fridge, you can do that!
There are a few critical steps.
You need to COMPLETELY STERILIZE all your equipment - most importantly, the jars. You should do this anyway, but 100% sterilization is critical to ensure that no bad bacteria are living inside the jars during fermentation. You can either run them through the dishwasher, or place them in the oven at 275ºF for 20+ minutes. Learn more here.
DO NOT sterilize the radishes, or else the Lactobacillus bacteria will die.
Another way to ensure the longevity of your fermented radishes is to increase the SALT SOLUTION to 3-10% (instead of the regular 2%). The brine will be very salty, but the radishes won't taste too salty.
I learned about this method from Homesteading Family in their Fermentation for Long-Term Preservation article. They recommend "2-3 tablespoons of salt per quart of water" for long-term preservation.
Using these 2 methods, you can keep your fermented radishes in the pantry for months, even years…
3. When are radishes in season?
Radishes are a cool season crop, meaning they like to grow in SPRING and AUTUMN. This is the perfect way to preserve the warmth of sunshine for the chilly winter months.
Get This Recipe
Sent To Your Inbox
Plug in your email to get it sent right to your inbox. Plus, enjoy countless seasonal recipes, wine pairings, and hosting inspiration on the weekly.
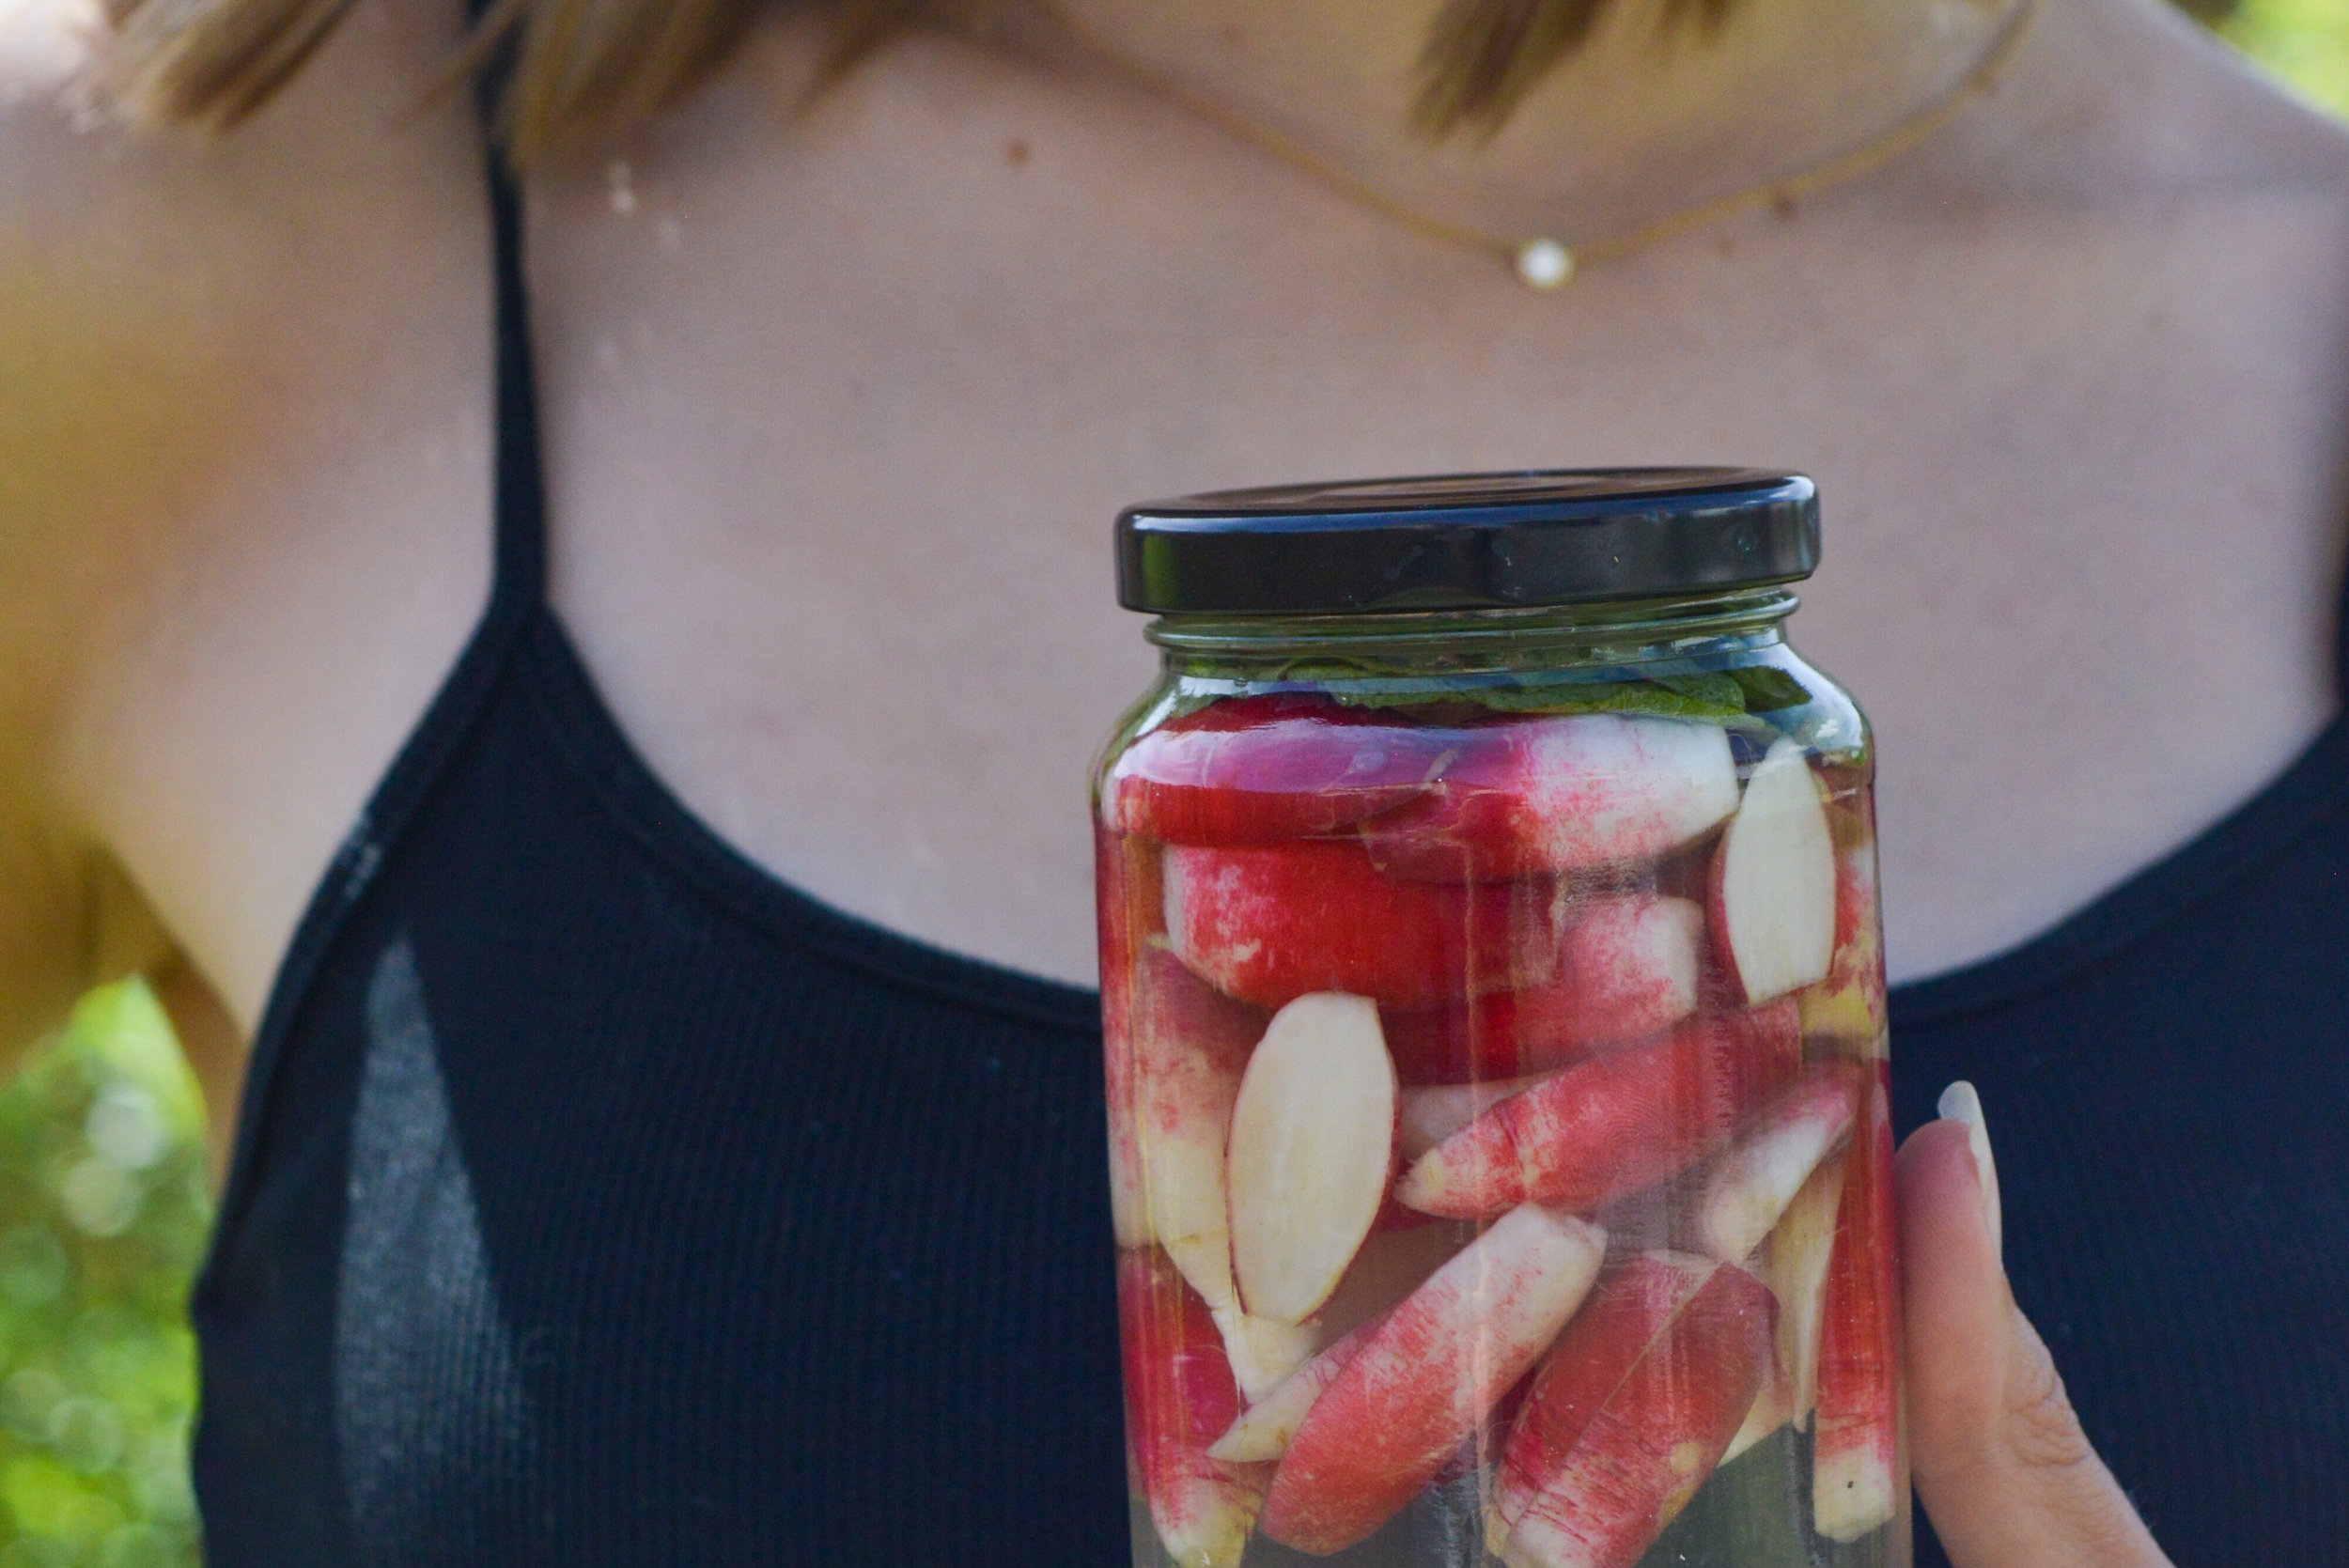
Fermented Whole Radishes
PREP: 30 MINS | FERMENTATION: 1 WEEK - 1 MONTH
Fermented radish is easy, beautiful, and packed with spicy, tangy goodness that's perfect on salads, sandwiches, and cold pasta dishes, or enjoyed as a gut-boosting snack!
EQUIPMENT
INGREDIENTS
- Radishes (any kind will do)
- Filtered water
- Salt (I use 100% natural sea salt, which is rich in essential minerals)
INSTRUCTIONS
- PREP THE RADISHES | Wash off any dirt and lightly dry them. Slice the leaves and tail ends off each radish.
- FILL THE JARS | Pour the prepared radishes into the glass jars (to about 80% full). You can also add any spices of your choice (garlic and dill are great).
- WEIGH THE WATER | Place a large bowl on your digital scale, and zero it out. Change the unit to grams.
- MAKE THE BRINE | Fill each glass jar with water. Then, pour the water from each jar into the large bowl (keeping the radishes inside the jars). Take the weight of the water and multiply it by .02. That’s how much salt you’ll need to add, in grams. (EX: 1,000 grams of water x .02 = 20 grams of salt.) Add the salt and stir until well-dissolved.
- POUR IN THE BRINE | Pour the salted water (the brine) back into each jar.
- WEIGHT IT DOWN | Use fermenting weights, or the leaves of the radishes, to ensure that each radish is fully submerged in the water. (Anything exposed to oxygen will become moldy, so make sure all radishes and leaves - if using - are fully submerged.
They must be 100% submerged during the entire fermenting process.)
- CLOSE THE JARS | CO2 gas is created during fermentation, and it needs to be released (or the jars can explode). You have 2 options: either place the lids on loosely (just enough to keep bugs/dust out) or close the lids tightly and "burp" the jars everyday (take the lids off for a brief moment to release the gas).
- FERMENTATION TIME | Fermentation takes a few days to a month. The longer they ferment, the tangier they become. The fermentation is complete when no more bubbles are forming. I let mine ferment for a whole month.
- STORAGE | Store your fermented radishes in the fridge, where they will last for several months. Or, with proper technique, you can store them outside the fridge (see the FAQ section).
here's a free
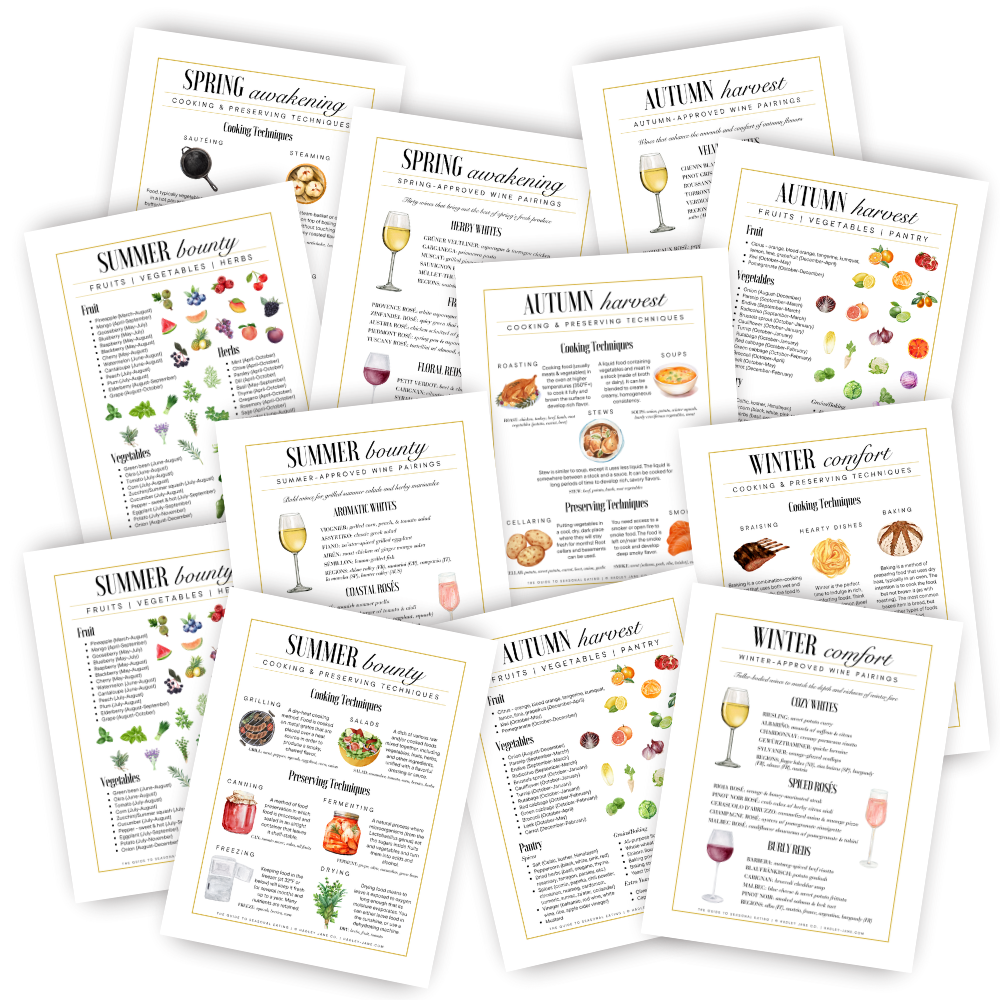
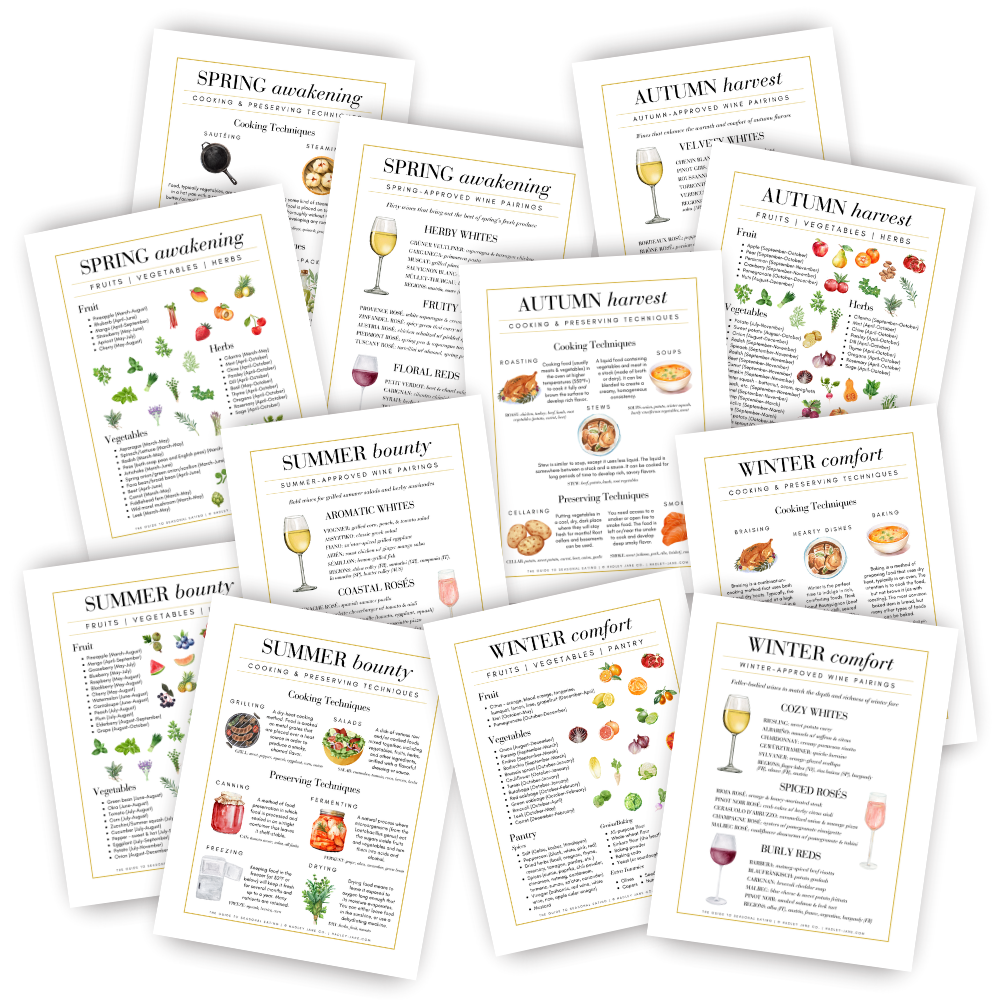
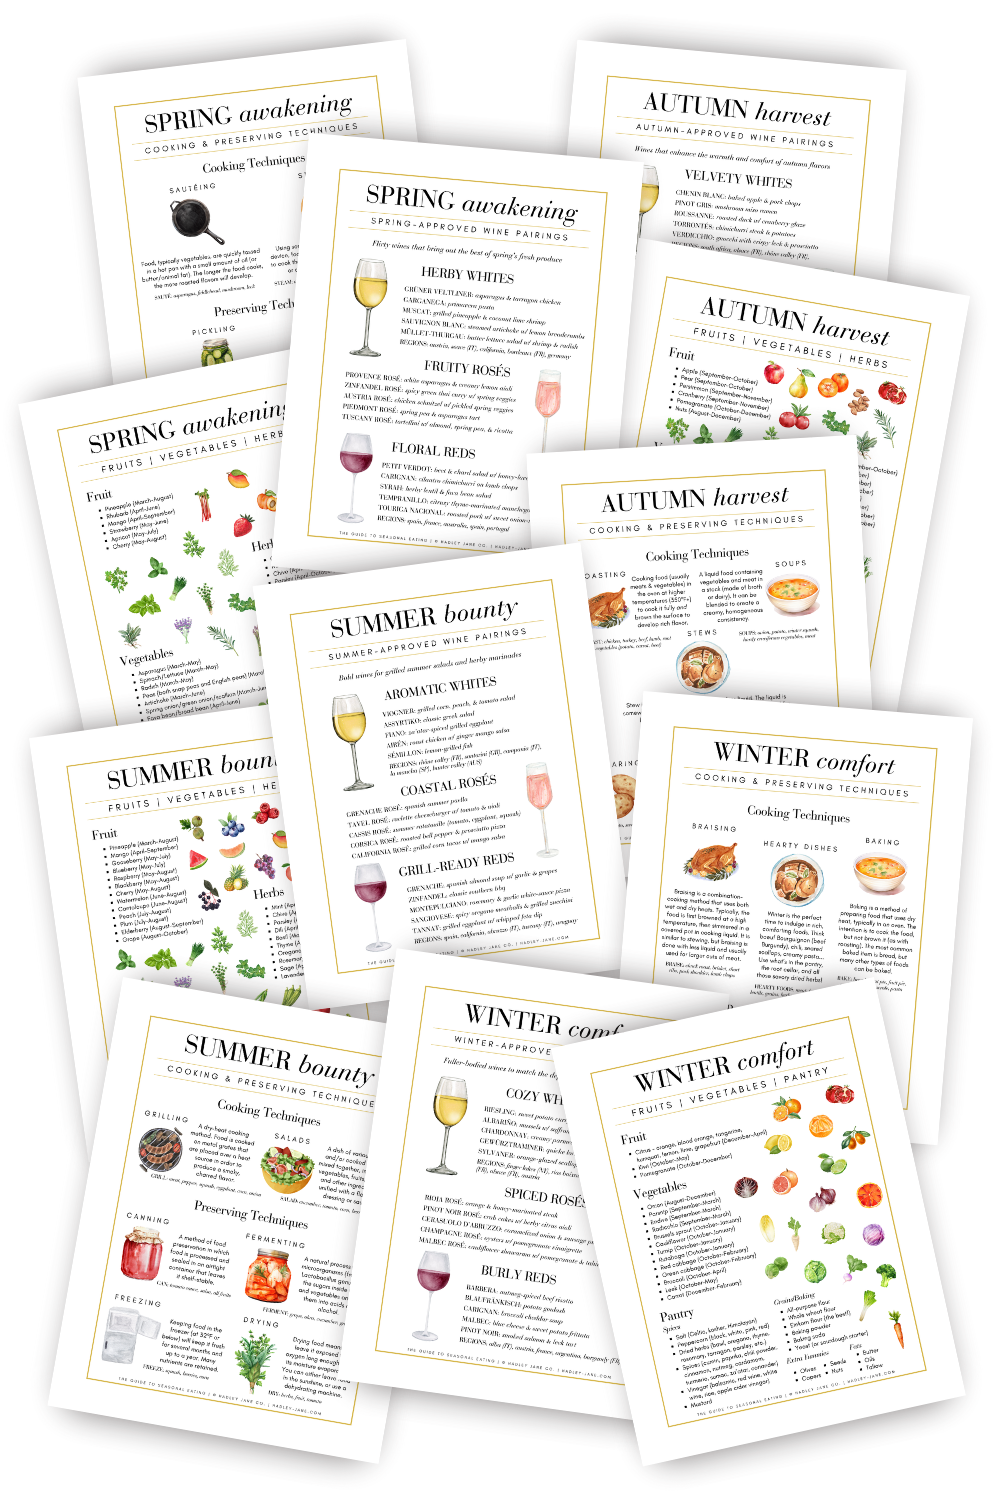
GUIDE TO SEASONAL EATING
This FREE Guide to Seasonal Eating comes with seasonal food lists, cooking & preserving techniques, and perfect wine pairings for all 4 seasons. DOWNLOAD NOW ↓
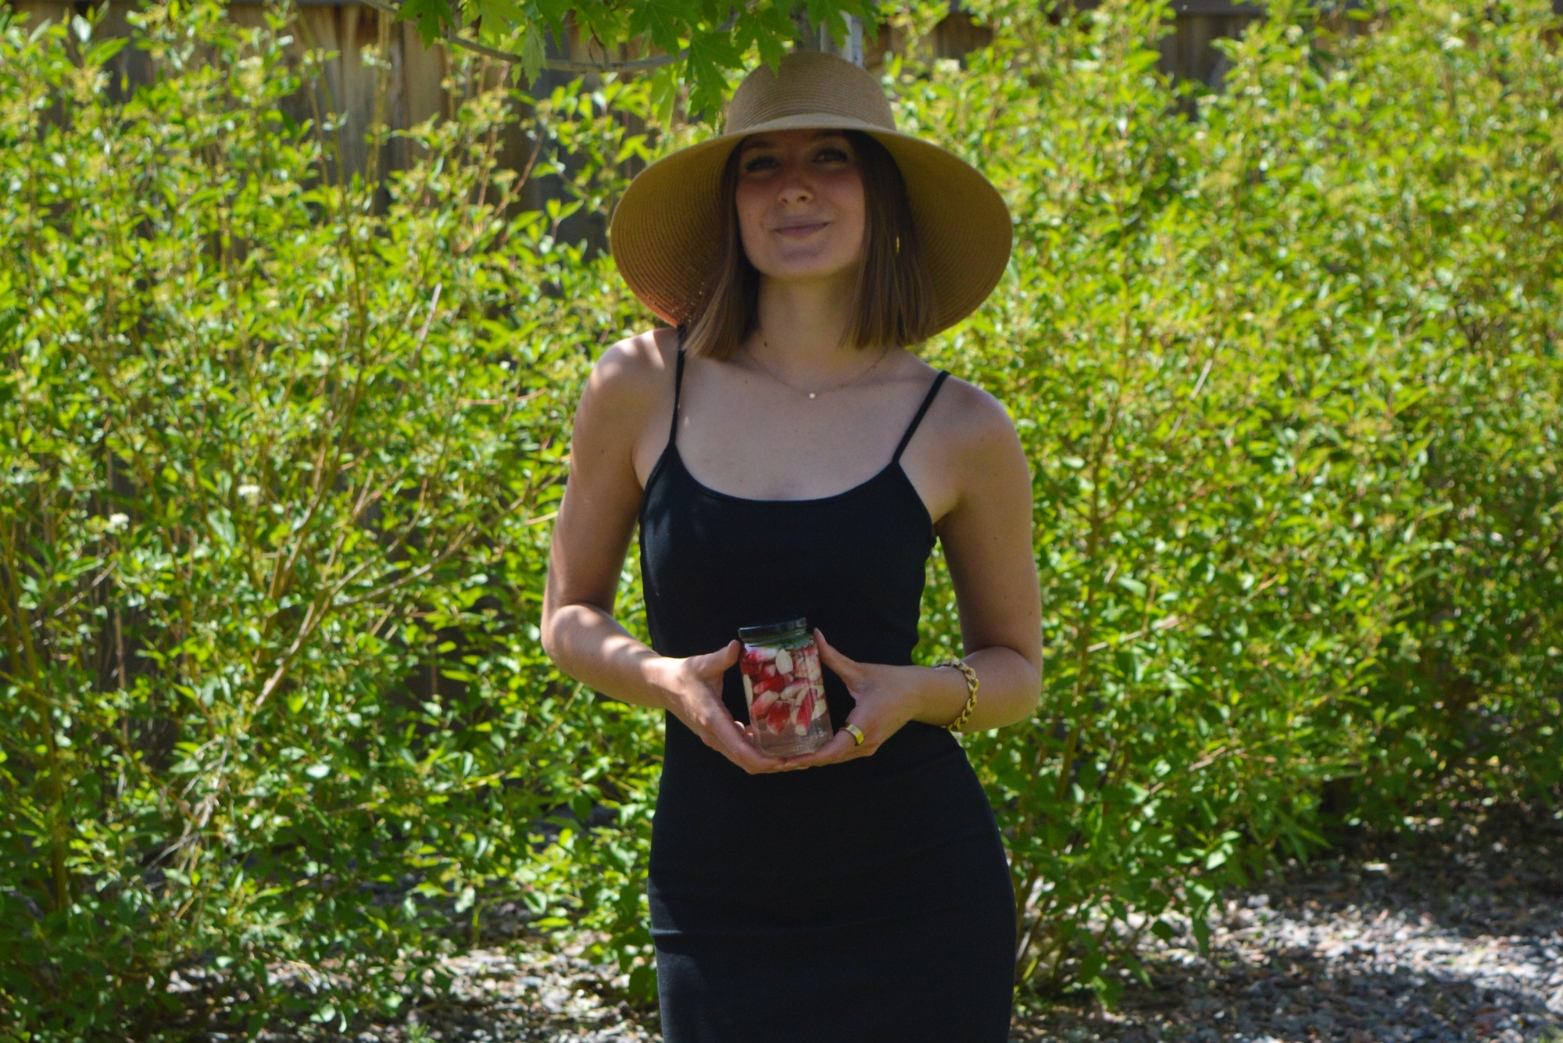

PAIRS WELL WITH:
COMING soon
more preserving RECIPES

COMING SOON

COMING SOON
Join the Revolution
Seasonal recipes, curated collections, and the art of slow living. Sign up today for timeless inspiration delivered weekly.
Hadley Jane
Hadley Jane
I teach epicurean women how to make fermented foods from scratch so they can unleash their creativity in the kitchen and reclaim their vibrant health.
I'm a fermentation devotee, natural wine connoisseur, and certified health coach. I believe the kitchen is the most sensual, sacred place in the home—and I’m here to help you fall in love with it again. Let’s ferment something beautiful together!
I'm a fermentation devotee, natural wine connoisseur, and certified health coach. I believe the kitchen is the most sensual, sacred place in the home—and
I’m here to help you fall in love with it again.
Let’s ferment something beautiful together!
I'm a fermentation devotee, natural wine connoisseur, and certified health coach. I believe the kitchen is the most sensual, sacred place in the home—and I’m here
to help you fall in love with it again. Let’s ferment something beautiful together!

Hey there!
I'm Hadley Jane
I teach epicurean women how to make fermented foods from scratch so they can unleash their creativity in the kitchen and reclaim their vibrant health.
FREE COOKBOOK
10 beautiful recipes celebrating the art of fermented foods.
CATEGORIES


