BY HADLEY JANE
This site contains affiliate links, view my disclosure for more information.
This site contains affiliate links; view my full disclosure.
Whether you’re preserving food for homestead survival or just want to have some fun in the kitchen, these are the most important methods of preserving food at home that everyone needs to know about. What are the 10 methods of food preservation? They’re canning, freezing, fermenting, pickling, drying, root cellaring, salting/curing, smoking, oil-packing, and alcohol-packing. This post simplifies each method so that every beginner can feel confident in their food preservation journey. Each method includes a list of instructions, required materials, and preserving food recipes so you will know exactly how to get started today. This post is BIG, so be sure to use the Table of Contents!
This post is all about the 10 methods of preserving food at home!

2 Modern Methods of Preserving Food at Home
These modern ways of preserving food at home were invented within the last 200 years. They’re fairly new (in the span of food preservation), but they are immensely practical.
1. Canning
Do you have fond memories of being served home-canned jam and pickles from Grandma or Grandpa? Canning is an old skill that is picking up in popularity again. If you haven’t tried it yet, now’s the time!
The 200-Year History of Canning
According to Britannica, the process of canning food was discovered in 1809.
Napoleon Bonaparte was awarding a cash prize to anyone who could invent a new way to store food for his army. Frenchman Nicolas Appert discovered that food stored in glass jars and heated to high temperatures could be stored for long periods of time without spoiling.
The boiling process killed any bacteria in the jar, and the sealing process kept any new bacteria from entering. This process became known as “Appertization”.
However, glass jars were heavy and easily breakable — not ideal for the army. In 1810, Britishman Peter Durand discovered how to can food in tin jars, which were much lighter and less breakable.
Tin-canned food took off. It played a major role in the Civil War, WWI, and WWII. After the wars, the convenience of tin-canned foods remained irresistible.
Unfortanly, most tin cans today are lined with a slew of chemicals. Glass canning is much safer and avoids toxic coatings. That’s why home canning, using a water bath canner and/or pressure canner, is so essential!
Water Bath Canning
Anyone with a large pot, a towel/dish rag, and a few glass jars can water bath can at home.
Canning may seem intimidating, but once you do it a few times, it’s actually very straightforward. The process is the same every time:
- Prepare your food. It’s important to follow safety-tested canning recipes to ensure no botulism or other bacteria will survive in the final product. There are many great resources out there — The All New Ball Book of Canning and Preserving, The Homestead Canning Cookbook, Naturally Sweet Food in Jars, and Not-Your-Mother’s Canning Cookbook are a few favorites. While your food is cooking, prepare your canning materials.
- Prepare your water bath canner & jars. Place a metal rack (or lay a dish rag) in the bottom of a large cooking pot (this prevents the jars from cracking during processing). You could also use a specially-made water bath canner, but a pot & rack will work just fine. Place clean jars and lids (that were run through the dishwasher or washed with hot soapy water) in the pot. Fill the pot with hot water until everything is submerged.
- Fill your jars. Once your food is cooked/fully prepared, fill the jars one by one. Remove a jar and lid from the pot of water, fill it with food (a wide-mouth funnel is very helpful), wipe the rim with a clean towel (even a speck of food can prevent sealing), place the lid on the jar, screw the ring on “finger-tight”, and return the jar to the pot. Repeat with each jar individually. This ensures everything stays hot & bacteria-free.
- Process your jars. Place a tight-fitting lid on your pot. Turn the stove on to the highest temperature. Wait for the water to come to a full boil, then process the jars for the full amount of time as required in the recipe. If the boil stops for any reason, you must bring it back up to a boil and start the timer over again. Once the timer goes off, turn off the heat and let the jars rest in the water for 5 minutes to cool down slightly.
- Remove your jars. Using regular tongs or canning tongs, remove the jars from the pot and place them on a towel on the counter. Let them sit undisturbed for 12-24 hours. Don’t mess with them in any way — the rubber seal inside the lid is as loose as puddy until it’s fully cooled.
- Check the seals after 12-24 hours. A lid has successfully sealed when you tap it and there’s no “popping” — the pressure pulled the lid down enough that there is no flexibility.
- Store the jars properly. It’s important to keep your jars away from all direct (and indirect) sunlight. A cool, dark place is ideal. This will preserve flavor, and more importantly, nutrients.
To safely water bath can, food must be at a pH of 4.6 or lower (acidic), or else bacteria can survive. Because of this, you can only water bath can sufficiently acidic recipes (like jams/jellies, pickled vegetables, etc.). Always be sure to follow safety-tested recipes!
Pressure Canning
The process of pressure canning is very similar to water bath canning, except it requires a special pressure canning machine. A pressure canner has a locking lid that allows the temperature to increase to 240+º during processes (water bath canning only reaches 212º). This allows you to can non-acidic foods like meat and non-pickled vegetables.
If you’re serious about canning, I highly recommend this phenomenal Canning Course from Homesteading Family.
Canning Recipes
These are some beloved water bath canning recipes:
- Canned tomato sauce
- Canned pickles
- Canned salsa
- Canned apple sauce
- Canned berry jam
- Canned candied jalapeños
- Canned corn relish
- Canned peach BBQ sauce
- Canned onion jam
If you have a pressure canner, you should try these recipes:
- Canned pumpkin
- Canned peas
- Canned asparagus
- Canned onions
- Canned potatoes
- Canned beef stew
- Canned bone broth
- Canned chicken
- Canned Boston baked beans
No matter which method of canning you use, it's important to use the freshest produce possible (for flavor, nutrition, and affordability)!
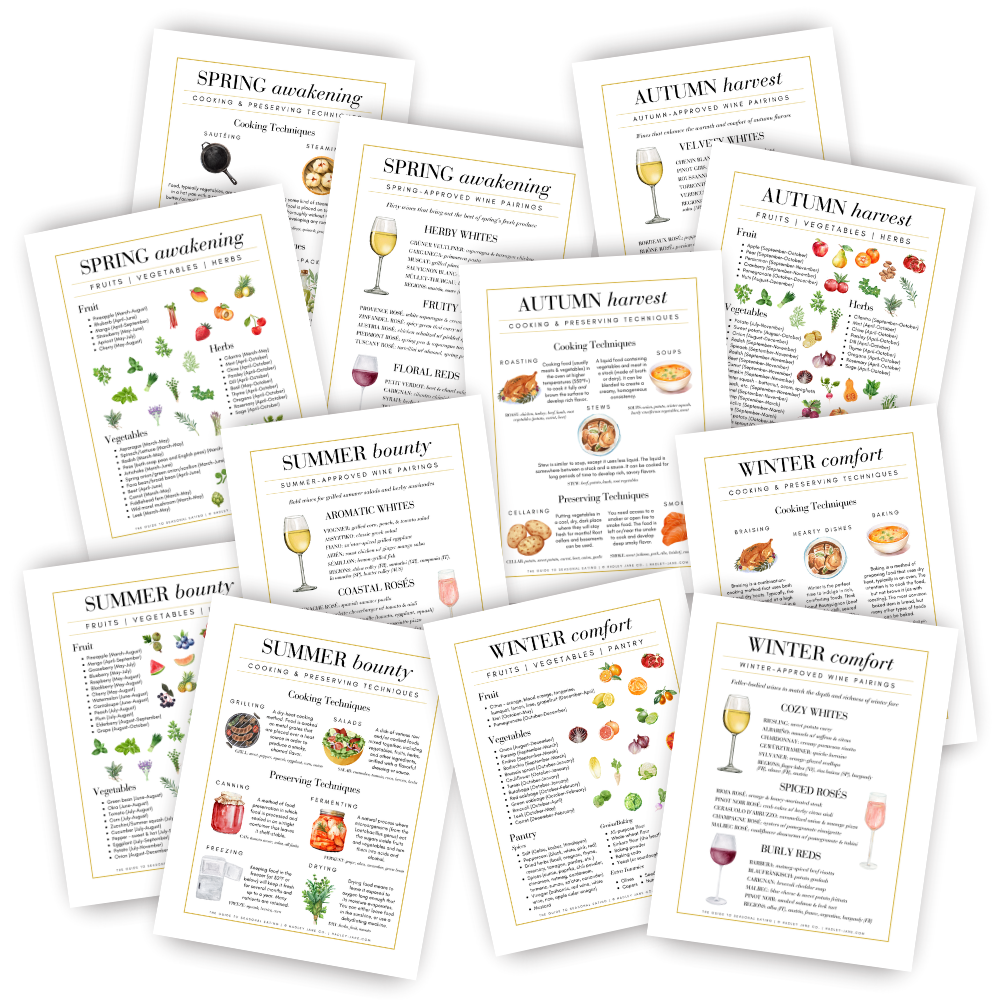
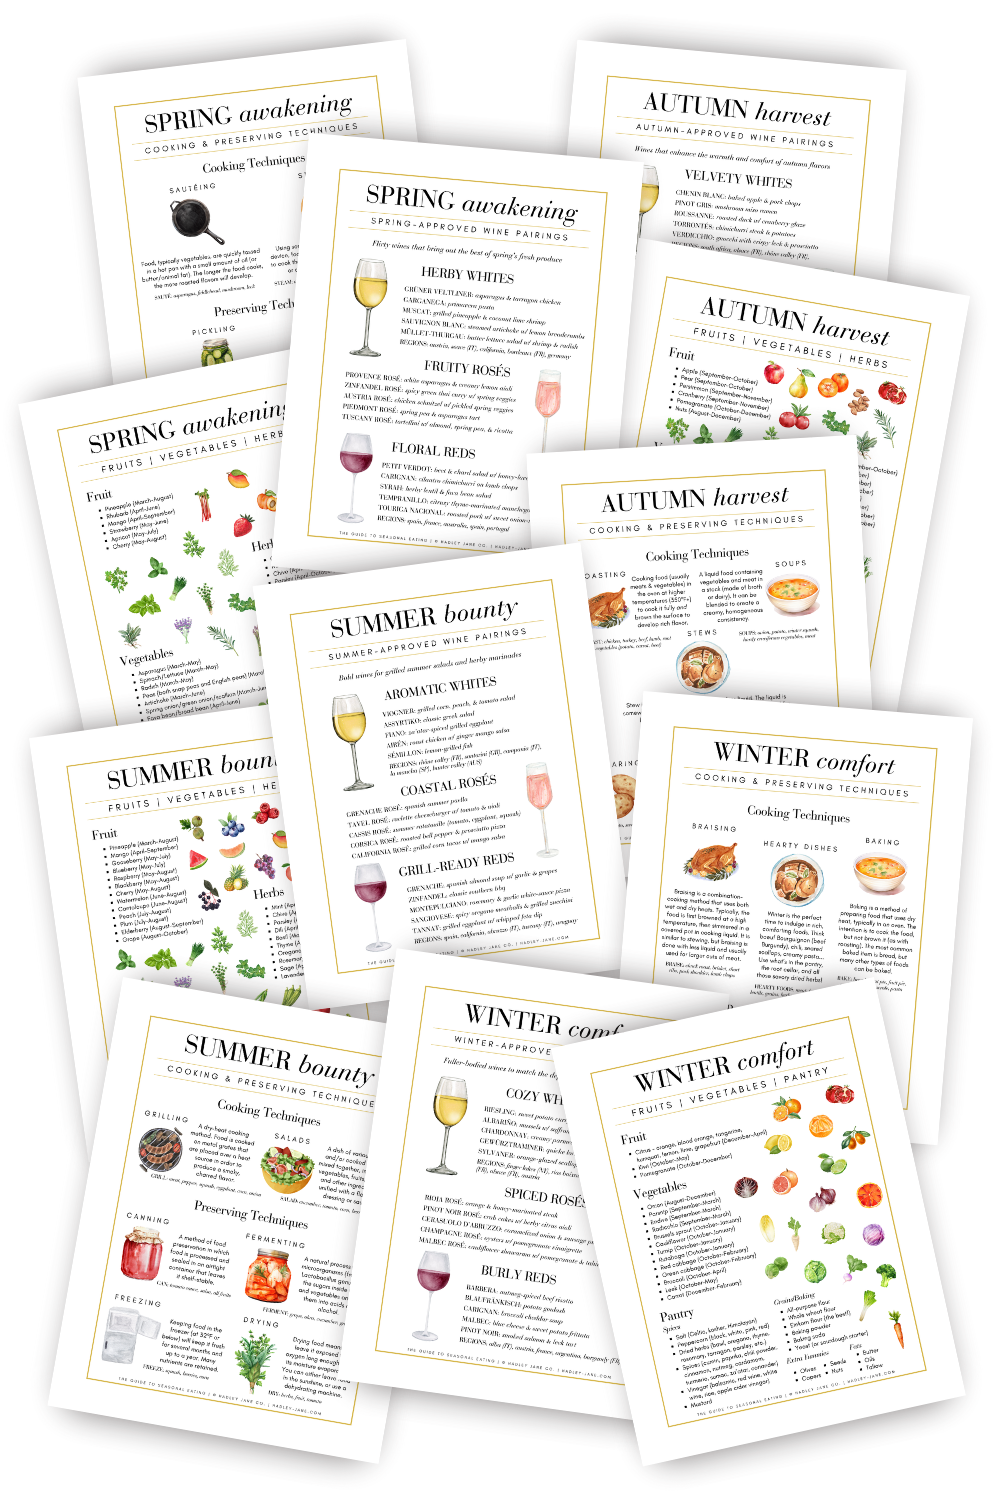
here's a free
GUIDE TO SEASONAL EATING
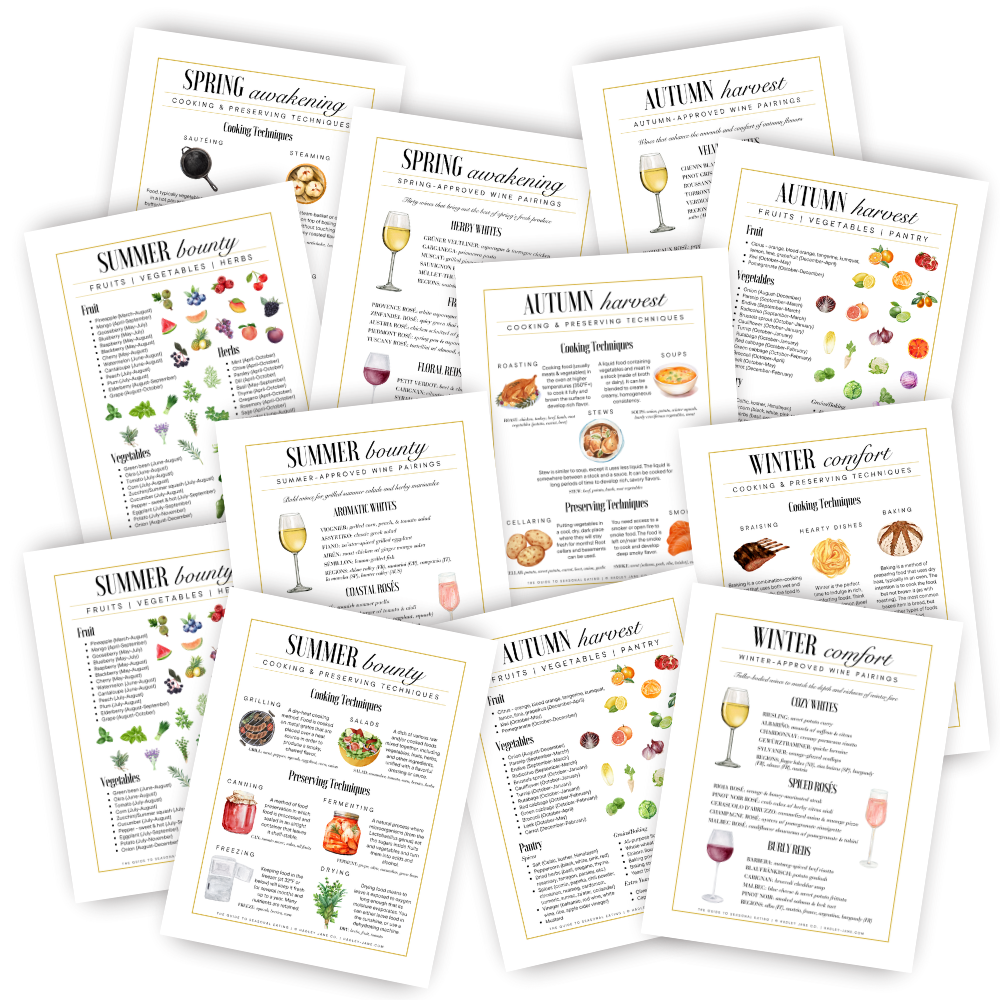
This FREE Guide to Seasonal Eating comes with seasonal food lists, cooking & preserving techniques, and perfect wine pairings for all 4 seasons. DOWNLOAD NOW ↓
2. Freezing
Freezing is one of the best ways of preserving food at home for beginners. All you need is a freezer, which you most likely have attached to your refrigerator.
If you’re passionate about preserving food at home, a deep freezer can be a vital asset, as well.
Fridge Freezer
A fridge freezer is readily accessible to most people. It takes 2-24 hours for food to freeze. During this time, ice crystals may form, which isn’t the best for food quality.
Deep Freezer
A deep freezer freezes food much quicker than a fridge freezer. Its temperature will drop to 0ºF (-18ºC) in just 1 hour.
It will also preserve food for a longer period of time, which is great for things like meat.
Freezing Recipes
For the passionate food preserver, you must have these freezing recipes in your back pocket:
Containers for Frozen Food
So, what do you store frozen food in?
- Glass jars are perfect for berries, chopped veggies, and sauces.
- Silicone bags are great for fruits & veggies. (Plastic bags work, too.)
- Silicon ice cube trays are great for single servings of sauce.
8 Traditional Methods of Preserving Food at Home
These 8 ways of preserving food are the traditional methods of food preservation. They have been around for thousands of years… Since the dawn of agriculture.
1. Fermenting
“Fermentation” is an elusive concept to most people, but many foods you probably love are made with fermentation:
- Wine
- Vinegar
- Lacto-fermented vegetables (like kimchi and sauerkraut)
- Cheese
- Yogurt
- Sourdough bread
- Kombucha
- Kefir
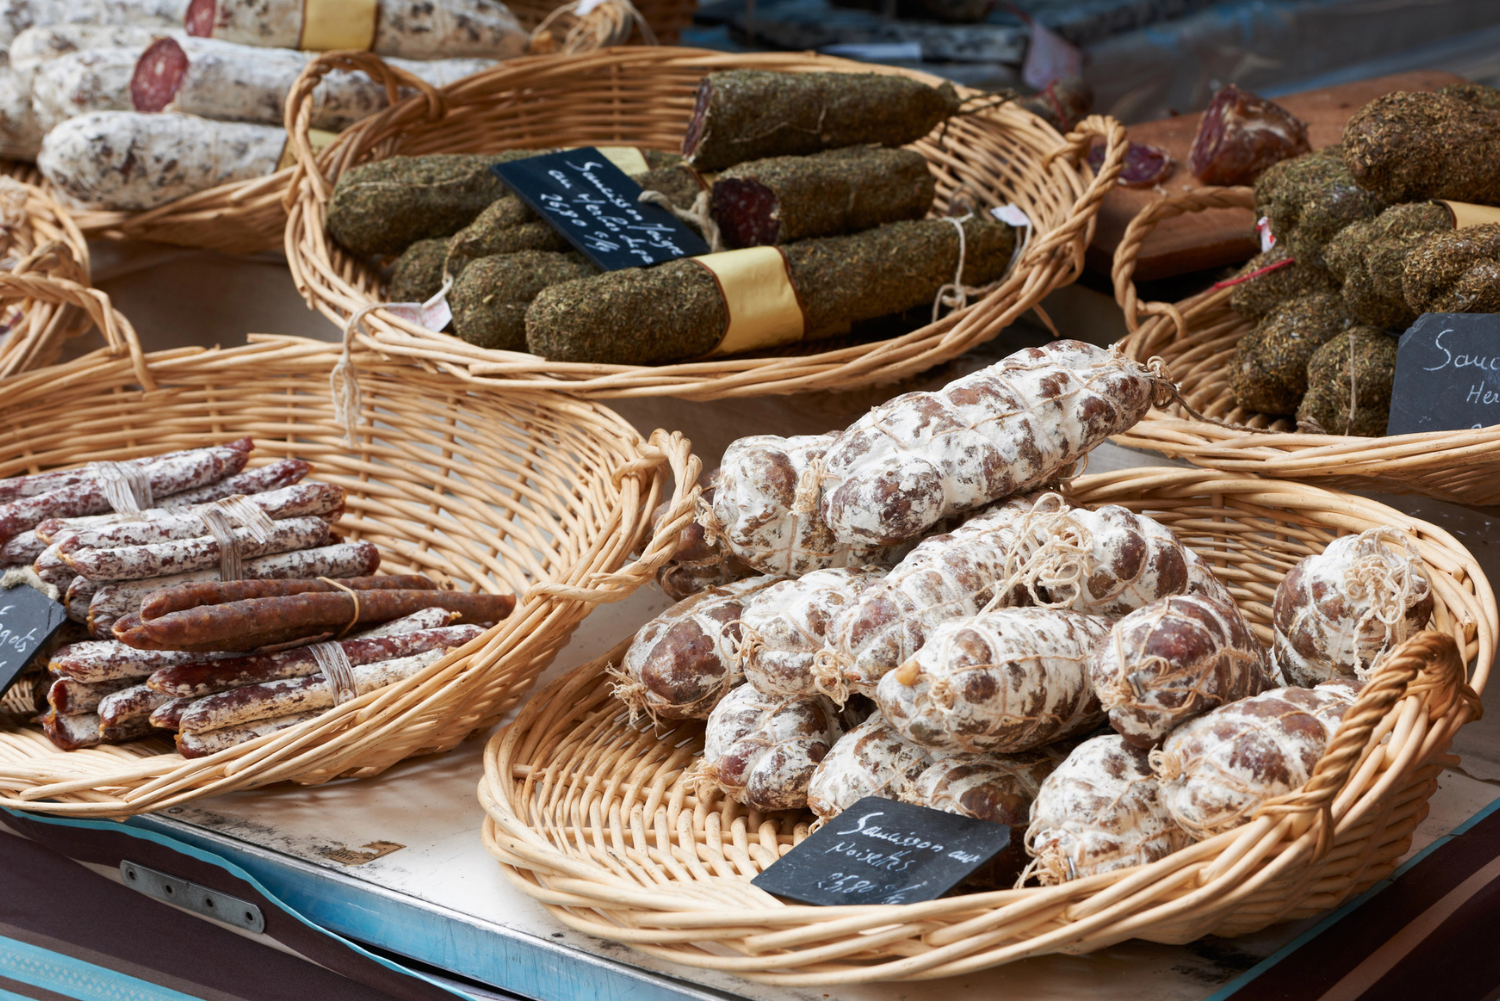
- Salami
Civilizations across the world developed their own fermentation recipes using local ingredients and traditions. In Mexico, they make tepache. In Japan, they make soy sauce. In Ethiopia, they make injera. In Germany, they make sauerkraut. The recipes are endless!
What is Fermentation?
Fermentation is simple. It describes the natural process by which yeasts (which are living bacteria that cover nearly every square inch of this planet) eat the carbohydrates in food and turn them into alcohol. The principal yeast responsible for fermentation is Lactobacillus.
Probiotics (also living bacteria) are a by-product of fermentation and are what make this food preservation method so healthy.
Fermenting Recipes
Fermentation is actually a good method of preserving food for beginners. All you need is a non-reactive vessel (glass jars are ideal), pure salt, and clean, non-chlorinated water. Fermenting weights and fermenting lids can be very useful, too.
These fermentation recipes are delicious & easy, even for beginners:
- Fermented pickles
- Sauerkraut
- Fermented radishes
- Hard apple cider (DIY alcohol? Yum!)
- Fool-proof vinegar (using any fruit)
- Kombucha (fermented tea)
- Yogurt
You can ferment basically anything: fruit, vegetables, meat, dairy, herbs, grains, and more. Each fermentation is made differently.
- Fruit: You can ferment fruit 2 ways. First, you can chop fruit into smaller pieces (exposing the sugars) and submerge them in water (like apple vinegar). Second, you can purée the fruit, and not add any water, to make a more concentrated fermentation (like apple cider vinegar). You'll want to mix the fermentation 1-3 times daily to keep bacteria from growing.
- Vegetables: For most vegetables, you'll submerge them in water with a salt solution of 2-5%. (You'll need a scale to be precise.) The salty environment will keep bacteria from growing.
- The Power of S.C.O.B.Y. (Symbiotic Culture of Yeast and Bacteria): I have discovered that by adding a S.C.O.B.Y. to my fruit and vegetable fermentations (leftover from all my Kombucha-making), that no unwanted bacteria grows! The healthy, vibrant S.C.O.B.Y. takes over immediately and creates a protective layer on top. This has really been key to my success when preserving food at home.
- Dairy: Begin with a healthy starter culture (like authentic, probiotic-rich, sugar-free yogurt) to ferment milk into yogurt, cheese, etc.
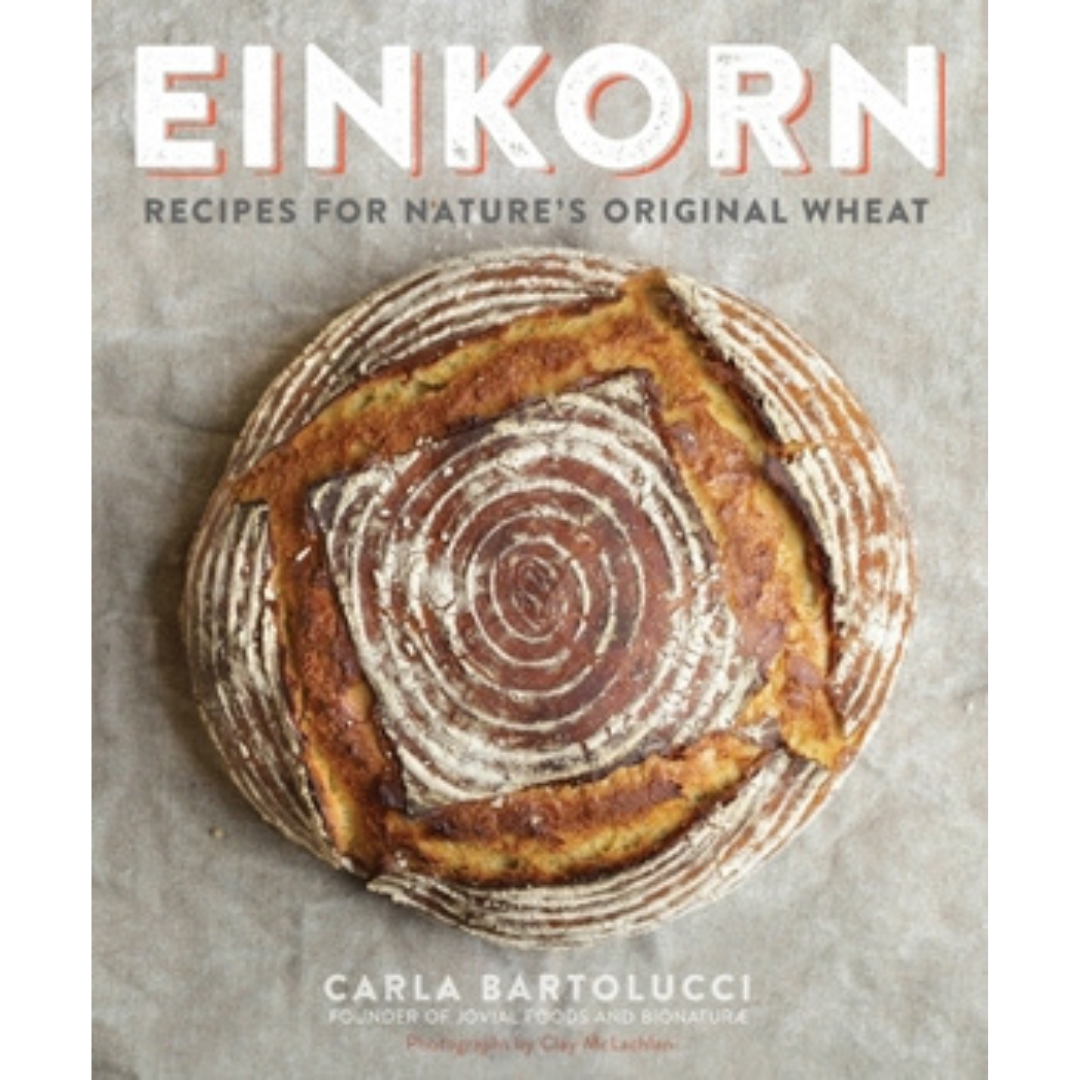
- Grains: Authentic sourdough bread is made by fermenting grains, which allows the bread to rise in the oven. I always use einkorn flour (the oldest wheat on Earth — it's never been hybridized and it has less gluten and more protein than modern wheat). Here are some great sourdough recipes using einkorn flour: sourdough sandwich bread, sourdough bagels, sourdough boule, sourdough pizza dough.
Fermenting for Long-Term Storage
Did you know that you can keep fermentations outside the fridge indefinitely? With methodical prepping, this can be an energy-free way to preserve food at home.
You must first sterilize all your equipment - most importantly, the jars. You should do this anyway, but 100% sterilization is critical to ensure that no bad bacteria are living inside the jars during fermentation. You can either run them through the dishwasher or place them in the oven at 275ºF for 20+ minutes.
Do not sterilize the food, or else the Lactobacillus bacteria will die.
Another way to ensure the longevity of your fermentations is to increase the salt solution to 3-10% (instead of the regular 2%). Learn more about this method from Homesteading Family in their Fermentation for Long-Term Preservation article. They recommend "2-3 tablespoons of salt per quart of water" for long-term preservation.
Using these 2 methods, you can keep your fermentations in the pantry for months, even years… This is one of the BEST ways to preserve food without electricity!
2. Pickling
Pickling means to store produce (typically vegetables) in vinegar. The acidity in the vinegar keeps the produce safe from bacteria.
Open jars of pickled food will last several weeks/months in the refrigerator.
Pickling Recipes
Pickling is very straightforward: you place some vegetables in a brine of vinegar, filtered water, and pickling spice (or any spices of your liking).
Here are some go-to pickling recipes:
As mentioned in the canning section, water bath canned vegetables must be canned in vinegar to be safe. So, many pickling recipes are great for canning, like these:
3. Drying
Drying is one of the most ancestral ways of preserving food at home. Air drying doesn’t require any electricity, but more modern methods (including oven drying, using a dehydrator machine, and freeze drying) do require electricity.
Air drying is great for large quantities of food, but modern methods are scientifically proven to retain more nutrients. In any form, drying is a wonderful food preservation method.
Air Drying
Air-drying food works best in the hot summer months. The temperature should be between 70º-100ºF, and sunshine will help prevent mold.
There are several steps to air-dry food for long-term preservation:
- Prepare the food. Slice it into smaller pieces (the smaller they are, the faster they’ll dry). Place the food on a table or rack. Cooling racks (for baking) work excellently for air-drying food. This set of stackable stainless steel cooling racks is perfect.
- Cover the food. To keep flies and other bugs from dive-bombing into your food, you’ll want to cover it with some kind of organic natural cloth towel.
- Wait for the food to dry completely. This can take a few days to a few weeks, depending on how small the pieces are, how much liquid they have, etc. Check on them every day, and inspect them for mold, bugs, etc. Remove any contaminated pieces.
- “Condition” the food. Once the food has completely dried, you can put it in storage containers like non-toxic glass jars. Don’t fill them all the way, because for the next 7-10 days you have to “condition” the food: shake the jar (with the lid on) to separate the pieces and make sure there’s proper airflow. If you see any sign of condensation, you must continue drying the food and repeat the conditioning process.
- Store the food. Keep the jars in a cool, dry, dark place for up to 1 year.
Oven Drying
Drying food in the oven can be useful if the temperature isn’t warm enough outside. It’s a great way to preserve food like fruits and root vegetables during the spring, summer, and autumn months.
The ideal temperature is 95º-150º, but most ovens don’t go below 150º, so you’ll have to prop the oven door open with something like a wooden spoon.
It will certainly heat your house, which is a pro or con depending on the season. Another downside is that oven-drying can take 6-12 hours, which uses a lot of energy.
Here are some delicious oven-dried recipes for preserving food at home:
Dehydrator Machine
If you’re preserving a lot of food at home, it might be worth investing in a dehydrator machine. This one only costs $160, and it’s highly rated among food preservers.
It uses much less energy than an oven and uses much lower temperatures (95º-165º) which will retain food’s color and nutritional value better than an oven.
You can dry everything in a dehydrator — from delicate herbs to hardy root vegetables. If you’re passionate about food preserving, a dehydrator may be in your future.
Freeze Drying
Freeze drying is for those who are serious about preserving food at home. With proper technique, freeze-dried food can last for 20-30 years. Additionally, freeze-drying retains more flavor and nutrients than all other drying methods.
“Freeze-Drying the Harvest: Preserving Food the Modern Way” by Carolyn Thomas (from Homesteading Family) is a phenomenal 388-page book filled with detailed step-by-step tutorials and user-friendly charts.
Freeze dryers aren’t cheap, but they’re a life-long investment that will pay for itself very quickly. Harvest Right is the go-to freeze-dryer company for many people.
Here are some delicious freeze-drying recipes for preserving food at home:
4. Root Cellaring
Preserving food at home for winter is very important. One of the simplest ways to do that is by “cellaring” hardy food like root vegetables (potatoes, sweet potatoes, carrots, beets, parsnips, onion, and garlic), fruits (like apples and pears), and nuts.
Traditionally, root cellars were an essential part of food preservation.
A root cellar is a structure (usually dug underground) that may or may not be attached to the home. Because it’s underground, it stays at a consistently cool temperature of 32°-60°F (but should never freeze) and has a humidity of 80-95% (this keeps the produce from drying out). It should also be pitch black most of the time. This keeps the produce in peak condition for months, even years! It’s extremely practical for food preservation and storage.
Building a root cellar is timely and expensive… But could be worth it for serious food preservers.
Root Cellar Alternatives
Don’t have a root cellar? Sadly, most of us don’t.
Houses aren’t built with root cellars anymore, as food preservation has faded out of daily life. A tragedy! Regardless, you can DIY a “root cellar” in your home.
- Build a basement cold room. (Is your basement unheated? That’s perfect!)
- Have a crawl space? Those are good, too.
- Make a trash can “root cellar” outside.
- Use an extra fridge.
- Stash some coolers in your garage (they’ll protect the food from freezing).
Temperature, humidity, & light
No matter where or how you create your “root cellar”, the most important thing is to keep the temperature below the low 60ºs and above freezing. You also want as few fluctuations in temperature as possible.
Next, you want to keep the humidity above 60%, ideally. You can do this in several ways:
- Spray the area with water (using a spray bottle).
- Leave a bucket of water in the area.
- Use a humidifier machine. (That one is energy-efficient and good at dispersing humidity throughout the room.)
Lastly, it’s important that the space is as dark as possible most of the time. Light causes produce to decay faster, and causes potatoes and garlic to sprout.
How to Store Produce
There are different ways to store each kind of produce. (Carrots love to be stored in damp sand, potatoes need lots of airflow…) Here’s how to preserve different types of produce:
5. Salting & Curing
When we talk about preserving food with salt, we’re mainly talking about meat (fish, game, and livestock).
This video from A Pinch of Patience on YouTube is amazing — it breaks down the entire process in such a simple manner that anyone, even with zero experience, can do it at home. In her salting method examples, she explains the simple “salt box method” that can be used on any piece of whole-muscle meat.
Essentially, you rub salt over the entire surface of the meat (leaving no nooks or crannies), and shake off the salt that doesn’t stick to the meat.
Salting & Curing Equipment
You only need a few things to salt-cure meat at home:
- High-quality, FRESH meat (it’s best to source it from a trusted local producer. If you don’t have any near you, I recommend a company like U.S. Wellness Meats.)
- High-quality salt (the only ingredient in the salt should be salt!)
- A large container (like non-toxic glass baking dishes)
- A rack (this one fits inside that non-tox baking dish)
- Stainless steel meat hooks (or food-safe cotton butcher’s twine)
- A non-fuzzy towel (like a natural fiber, organic cotton towel)
Salting & Curing Instructions
- Sourcing. Source your high-quality ingredients (fresh meat from a local producer & pure salt — could be sea salt, Himalayan salt, etc.).
- Salting. Rub the meat with plenty of salt until no parts are left unsalted (this is called the “salt box method”). Shake off any excess salt.
- TIP - Seasoning. You can season with anything you like — wine (use about ¼ cup), peppercorns, paprika, dried herbs, juniper berries, etc.
- Handling. For thin cuts of meat, place the salted meat on a rack in a container (this allows the salt to pull water out of the meat). For thick cuts of meat, place the salted meat in a container without a rack (this allows the salt to pull water from the meat, then be reabsorbed for even deeper penetration).
- Curing. Place the salted meat container in a cool place (like the fridge, a root cellar, a pest-free garage, etc.). The temperature would ideally be 40º-50º, but if the fridge is your best option, that will work! Cure the meat for at least 5 days (until you don’t see any more water being pulled out of the meat — could be upwards of a month).
- Rinsing & Drying. Once the meat is fully cured, rinse off the salt and pat dry with a non-fluffy towel.
- Weighing. Weight the meat (we’ll need to know this measurement later).
- Hanging. Use a sharp knife to (carefully) poke a hole in a corner of the meat. Use a hook (or butcher’s twine) to hang it.
- Drying. Store it somewhere cool and dark (probably in the same spot you cured it) for at least 5 days (probably closer to 10-15 days). This will help the meat to fully dry. After this drying period, you can store the meat at room temperature, if you wish.
- TIP: Humidity. Humidity helps the meat from drying too quickly and splitting, which can cause mold. Higher humidity (60-80%) is ideal for curing and drying. That’s why a root cellar works so well, but the crisper drawer in the fridge works, too. You could also use a humidifier machine to add humidity to the area (like a basement, garage, or crawl space).
- Aging. If you’re going to eat your cured meat RAW, you have to let it age until it loses 30% of its cured weight (that’s why we needed to weigh it after curing). This could take a few months!
- TIP: Mold. White mold isn’t something to worry about. Blue or green mold should be wiped away with vinegar. Black mold is toxic and should be discarded immediately.
- Long-term aging. You can let the meat age for as long as you like (even years). The longer it ages, the drier it becomes. Eventually, you can grate it (like a fine aged cheese).
- Cooking. You can cook the meat at any point after aging. Bacon is a perfect example. If the meat has become too dry, it’s perfect to add to soups, quiches, baked beans, etc.
- Soaking. If the meat tastes too salty, you can soak it in warm water for an hour or so to pull out some of the salt.
Is Meat Curing Safe?
In today’s world, it seems scary to let raw, salted meat sit outside the fridge for months… and then be consumed. But this practice is thousands of years old and even approved by the USDA. It’s how prosciutto, salami, and chorizo are made (among many other delicious cured meats from around the world). When done properly (with plenty of salt and watchful eyes), this is a totally safe food preservation method to try at home!
Salting & Curing Recipes
There are so many great recipes out there. Here are a few resources for beginners to learn how to salt & cure their own meat:
- Cured bacon
- Cured salami
- Cured leg of lamb
- Cured duck breast
- Cured corned beef
- Cured salmon (gravlax)
- Simple cured beef or pork (an easy recipe from the Weston A. Price Foundation)
- “The River Cottage: Curing & Smoking Handbook” (written by Steven Lamb, has 50 amazing recipes that don’t use nitrates/nitrites!)
Cuts of Meat for Salting & Curing
A piece of meat with more fat stays supple for much longer, which is good to keep in mind. You can cure any slab of muscle meat, but these are some of the most widely used:
- Pork belly
- Pork shoulder
- Pork neck
- Pork cheeks
- Beef chuck
- Beef round roast
- Duck breast
- Large fish filet (salmon, cod, etc.)
6. Smoking
You can smoke many kinds of food items, including meat, cheese, eggs, nuts, and produce.
When it comes to the long-term preservation of meat, smoking is a food preservation method that may be added to salting/curing. You can’t just smoke raw meat and have it turn into a safe preserved food — it must be salted & cured, first.
Smoking cured meat adds delicious flavor, as well as natural preservatives (like formaldehyde and certain alcohols) that are extracted from the wood.
Smoking temperatures range from 109º-160ºF, and smoking times last for a few hours to several days.
Smoking Equipment
To smoke food at home, you’ll need a few pieces of special equipment:
Smoking Recipes
There are so many great recipes out there. This article from Grill Masters Club does a great job explaining how to smoke meat (with or without a smoker).
Here are some additional recipes:
- Ventreche (French cured & smoked bacon)
- Montreal Smoked Beef (cured & smoked beef brisket)
- Magret de Canard Fumé (French cured & smoked duck breast)
- Smoked cheese
- Smoked nuts
7. Oil-Packing
Preserving food in oil is a technique that dates back to ancient Roman times. We’ve learned a lot since then, but much remains the same.
Imagine pouring a drizzle of liquid gold (a.k.a. olive oil), infused with the herbaceousness of summer basil and rosemary, over a steaming slice of homemade sourdough bread on a chilly winter day. Now that’s food preservation aesthetic!
Safety of Oil-Packing
However, it’s important to know that foods preserved in oil (if they’re intended to be shelf-stable) must be acidified before being added to the oil (meaning they are mixed with some kind of acid, such as lemon juice or vinegar) to lower their pH.
This is essential because non-acidic foods (like garlic, herbs, and vegetables) can contain Clostridium botulinum spores, which (in an oxygen-free environment like oil) can reproduce and create toxic botulism spores, which can cause serious illness and death.
Clostridium botulinum spores can’t survive in a pH of 4.6 or below, nor in cold environments.
Oil-Packing Recipes
The only “safe” oil-packed recipes out there that are shelf-stable were researched and published by the University of Idaho. They’ve created safe recipes for garlic-infused oil and herb-infused oil (using basil, oregano, and rosemary only) that can be aged on the shelf.
They call for citric acid and olive oil.
You can, however, follow any oil-packing recipe safely if you place the oil in the refrigerator immediately after infusing it (this way, Clostridium botulinum spores can’t survive).
Here are some oil-packed recipes to try, if followed safely:
8. Alcohol-Packing
When we preserve food in alcohol, we’re mainly talking about herbs, spices, and fruits.
Do you grow more fruits and herbs than you know what to do with? Alcohol-packing is a super fun method if you need ideas about food preservation from the garden.
Which Alcohol Can You Use?
You can use any alcohol (meant for human consumption) that is above 35% ABV (70 proof). Bacteria can’t survive in this environment!
Brandy, whiskey, rum, and gin are popular choices.
Alcohol-Packing Instructions
It’s very easy to preserve food in alcohol, and it’s safe & delicious! Fruit-infused alcohol is among the most popular, so here’s how to do it:
- Sorting. Discard any moldy or mushy fruits.
- Preparing. Chop the fruit into smaller pieces, if necessary
- Cleaning. Clean the glass jar with hot soapy water (or sanitize them in the dishwasher).
- Filling. Fill the jar ¾ of the way with fruit. Pouring. Pour in the alcohol (enough to cover the fruit by at least 1”).
- Optional: Sweetener. Most recipes call for a bit of sweetener (honey, maple syrup, coconut sugar, cane sugar, etc.). It’s not necessary for safety, but makes the infusion more delicious.
- Mixing. Tightly close the lid and give the jar a hardy shake. Infusing. Let it infuse for at least 1 month, and up to 1 year (it will still be safe after a year, but will begin to lose its flavor).
- Monitoring. Make sure the fruit remains submerged in the alcohol. (Use a glass weight if necessary.)
- Straining. When you’re ready to consume, strain the fruit from the alcohol. (Both the fruit and the alcohol can be used for cocktails, baking, etc.)
Alcohol-Packing Recipes
Fruit + booze = the perfect libation for crafty cocktails and decadent desserts alike.
- Cherries preserved in brandy
- Peaches preserved in whiskey
- Plums preserved in brandy
- Vanilla extract (vanilla-infused rum)
- Limoncello (lemon-infused vodka)

FAQ
Need more food preservation ideas? Here are some commonly asked questions to get your wheels turning.
1. What is the importance of food preservation?
Why even bother with all this work, when you can go to the grocery store that’s filled with every imaginable food product known to humankind?
Your Health
Have you seen the news lately? Nearly everything in the grocery store has been packed in, coated, or infused with some slew of chemicals.
Whether it’s BPA in cans, microplastics in packaging, or apeel on fruit, they’re nearly unavoidable in every aisle.
Skip all those toxins by preserving your own food!
- Glass jars don’t leech chemicals (plastic does).
- Natural preservatives (like salt and alcohol) eliminate the need for chemical preservatives.
- You know 100% of the ingredients in each preservation.
Save Money
Preserving food at home takes more time, but it usually costs far less than anything you can buy in the store. Whether you need to live frugally or just enjoy lowering your food bills (who doesn’t?), food preservation will save you money long-term.
2. What are the healthy ways to preserve food?
Preserving food at home, using simple & seasonal ingredients, will always produce a healthy outcome.
Fermention = Probiotics
However, the healthiest food preservation method is arguably fermenting because the process unlocks even more nutrients than were there before, alongside an abundance of healthy bacteria to bolster your gut health and immune system.
3. How we can preserve food for long-term storage?
For long-term storage, the best preservation methods are drying, curing, and alcohol-packing. These methods can preserve food for years, even decades.
Heat & Sunlight
For long-term food preservation, you must keep the food away from heat and sunlight (direct and indirect). Heat/sunlight will exacerbate the rate of nutrient degradation and spoilage.
How Long Will They Last?
Here’s about how long each preservation method will keep food good for:
- Canning: 1-2 years
- Freezing: up to 1 year
- Fermenting: best consumed within a year, but could last indefinitely (if taken care of properly)
- Pickling: a few weeks, up to 1 year
- Drying: up to 30 years
- Root Cellaring: up to 2 years
- Salting/Curing: months to decades, if done properly
- Oil-Packing: several days, up to a year
- Alcohol-Packing: could last indefinitely, if taken care of properly
Hover over the image and click the “Save” button to pin it to Pinterest!
Let's Get to Preserving!
With countless methods for preserving food at home, where should you begin? I suggest you start by transforming a humble cabbage into tangy fermented sauerkraut, curing a fine cut of pork into rich, smoky bacon, and soaking the season's sweetest fruits in brandy to enjoy their peak flavor for months to come.
Join the Revolution
Seasonal recipes, curated collections, and the art of slow living. Sign up today for timeless inspiration delivered weekly.
TAGGED —
Hadley Jane
Hadley Jane
I teach epicurean women how to make fermented foods from scratch so they can unleash their creativity in the kitchen and reclaim their vibrant health.
I'm a fermentation devotee, natural wine connoisseur, and certified health coach. I believe the kitchen is the most sensual, sacred place in the home—and I’m here to help you fall in love with it again. Let’s ferment something beautiful together!
I'm a fermentation devotee, natural wine connoisseur, and certified health coach. I believe the kitchen is the most sensual, sacred place in the home—and
I’m here to help you fall in love with it again.
Let’s ferment something beautiful together!
I'm a fermentation devotee, natural wine connoisseur, and certified health coach. I believe the kitchen is the most sensual, sacred place in the home—and I’m here
to help you fall in love with it again. Let’s ferment something beautiful together!

Hey there!
I'm Hadley Jane
I teach epicurean women how to make fermented foods from scratch so they can unleash their creativity in the kitchen and reclaim their vibrant health.
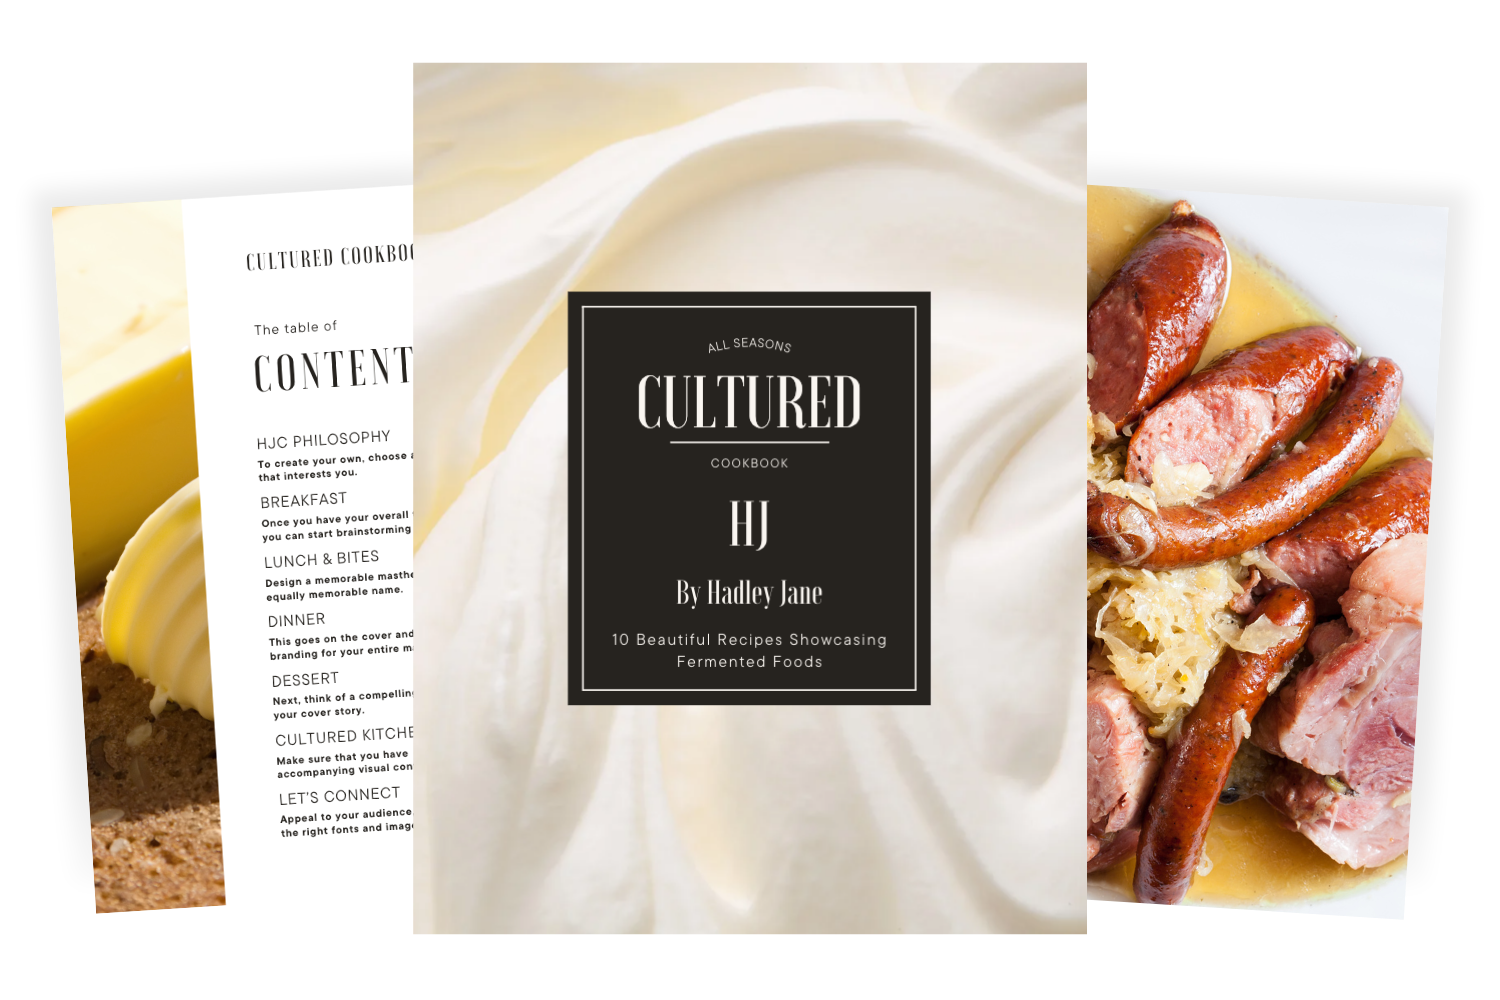
FREE COOKBOOK
10 beautiful recipes celebrating the art of fermented foods.
CATEGORIES


